Getting Started with Clipcat API: A Step-by-Step Guide to Automating Video Creation
Contents
If you're a developer working on automation, marketing, or content generation, using a video generation API like Clipcat to create videos dynamically could be a game-changer. It removes the need for manual editing and saves you the effort of building a video generation tool from scratch.
With Clipcat API, you can set up video templates with modifiable layers, and update text, images, and other elements through API requests—no manual editing needed!
In this guide, we’ll cover some basics of Clipcat, and walk through code examples in Node.js, Python, PHP, and more so that you can integrate it into your workflow efficiently. Let’s get started!
Understanding Clipcat’s Interface
Before diving into the API, let's take a quick look at how Clipcat works:
To generate a video using the Clipcat API, you must first create a video template in Clipcat. A video template can have multiple graphic or video scenes, each containing different objects like text and shapes (e.g., rectangles and circles). By modifying the scenes and objects via API calls, you can generate different videos dynamically, without touching the editor.
Here’s an example of a Clipcat video template in the editor:
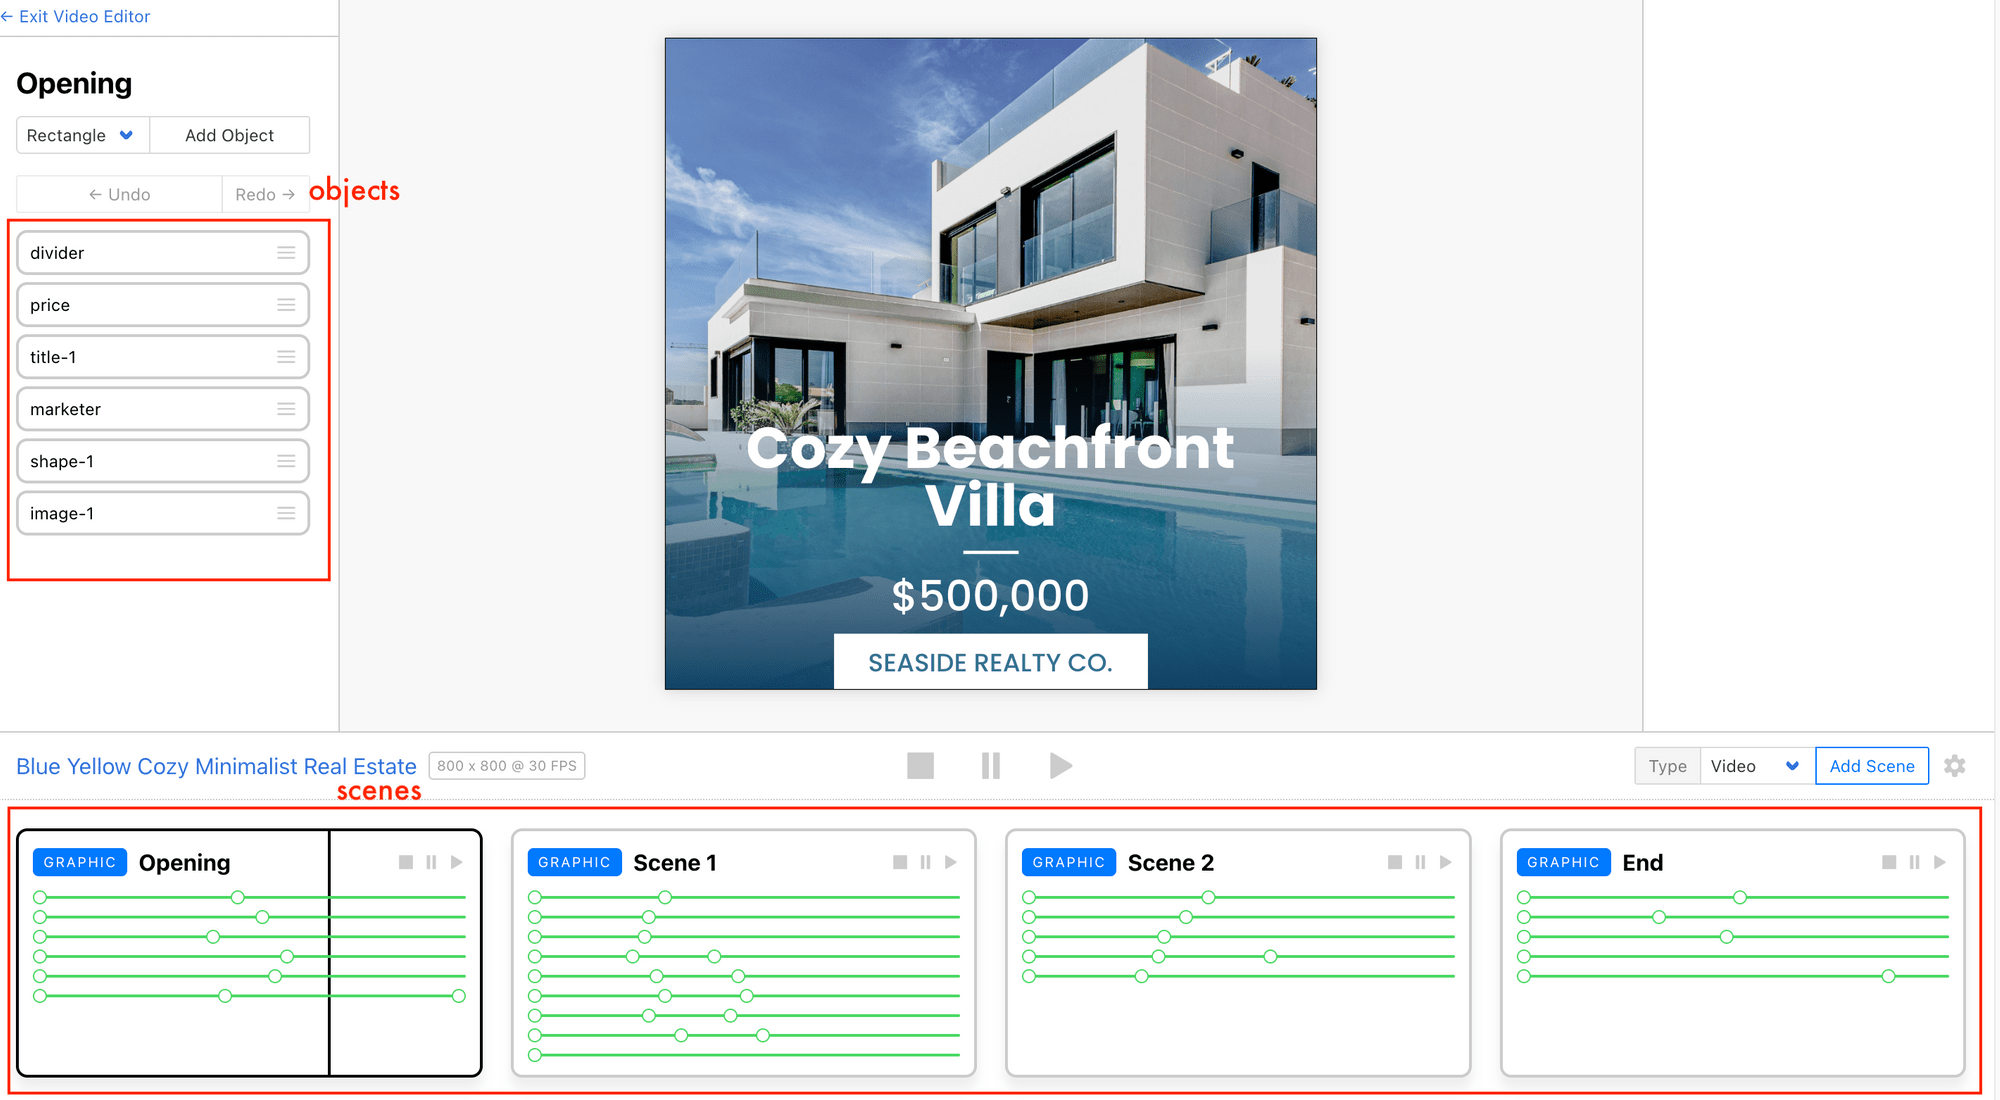
🐱 Meow Memo: Want to learn more about how to use scenes, objects, and more? Check out How to Customize a Template in Clipcat.
Setting Up Your First Video Template
Since this tutorial’s focus is on how to use the API, we’ll keep things simple by using a ready-made video template. Log in to Clipcat and click here to add the template below to your account:

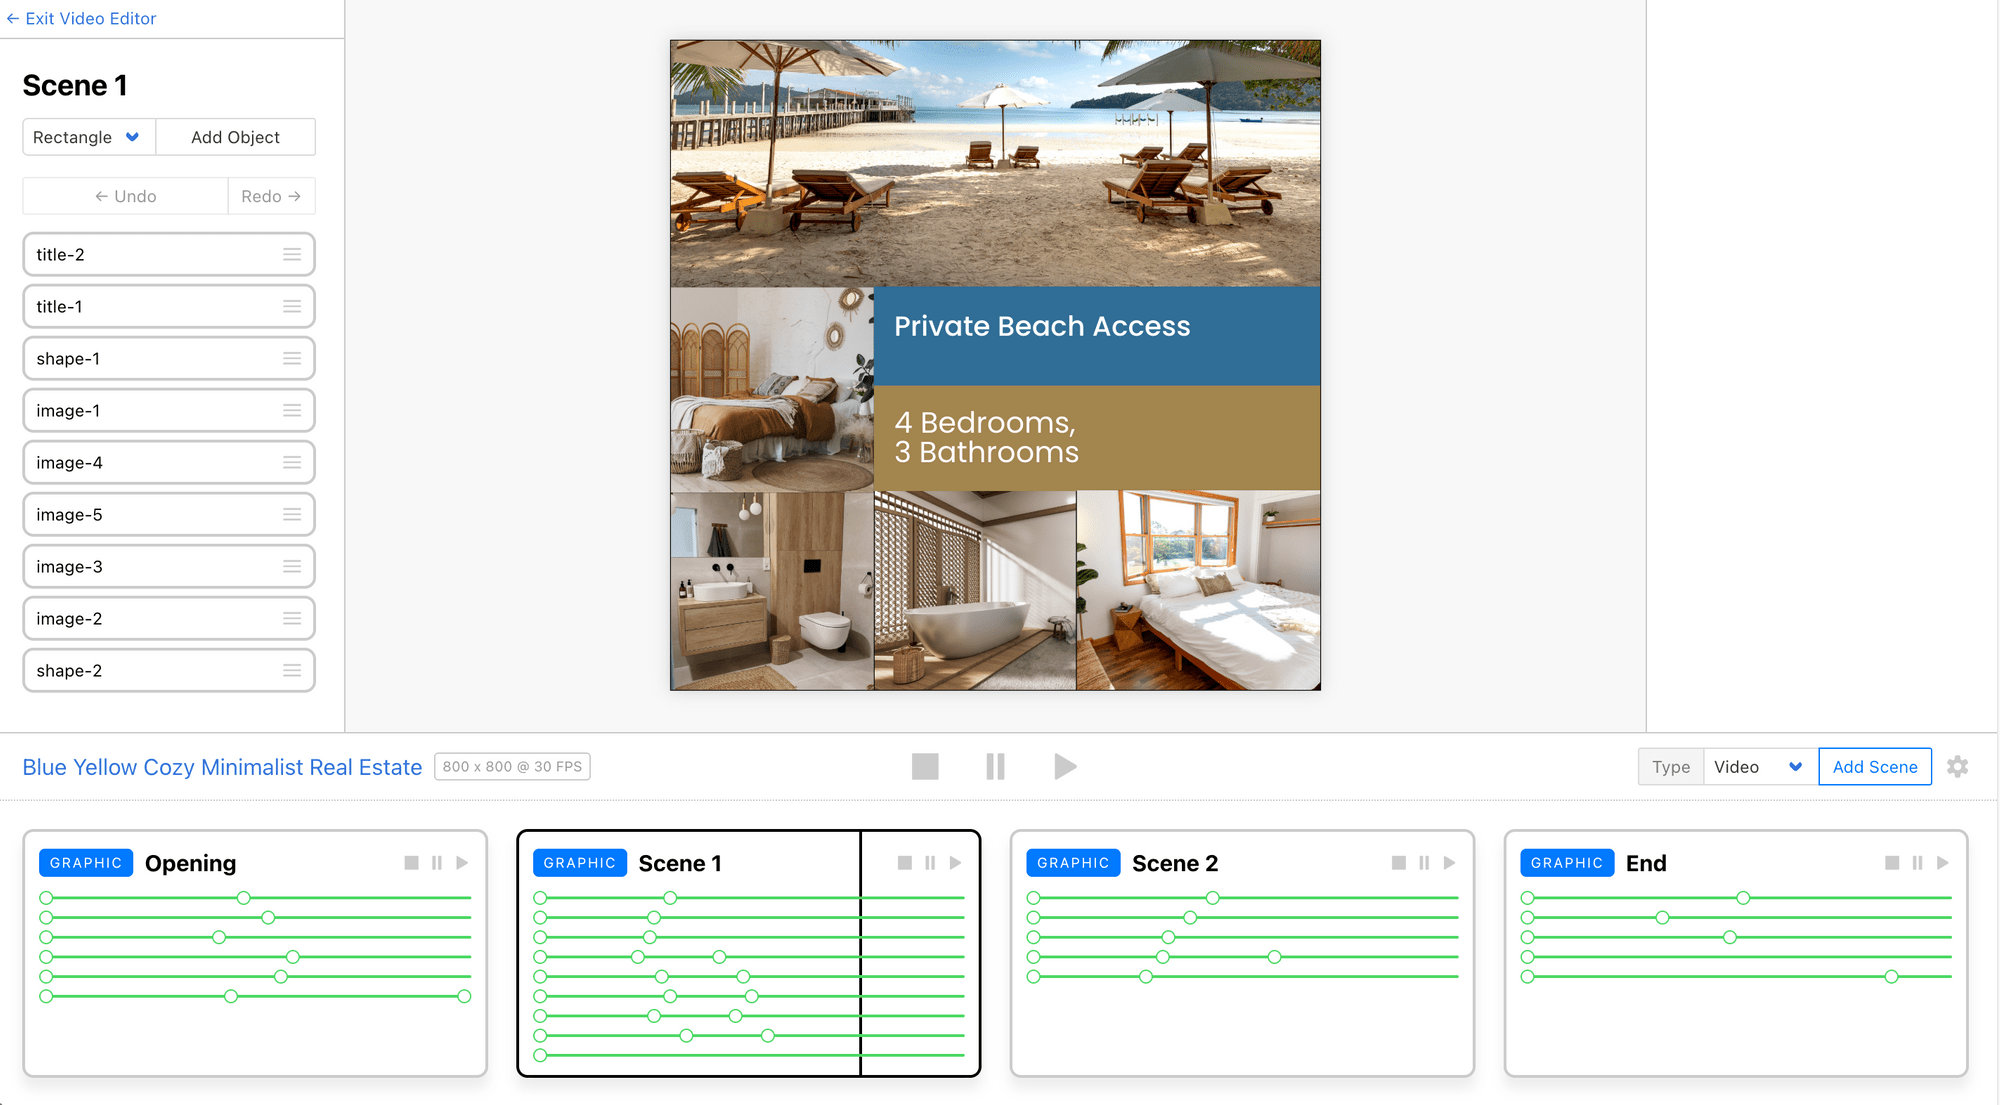
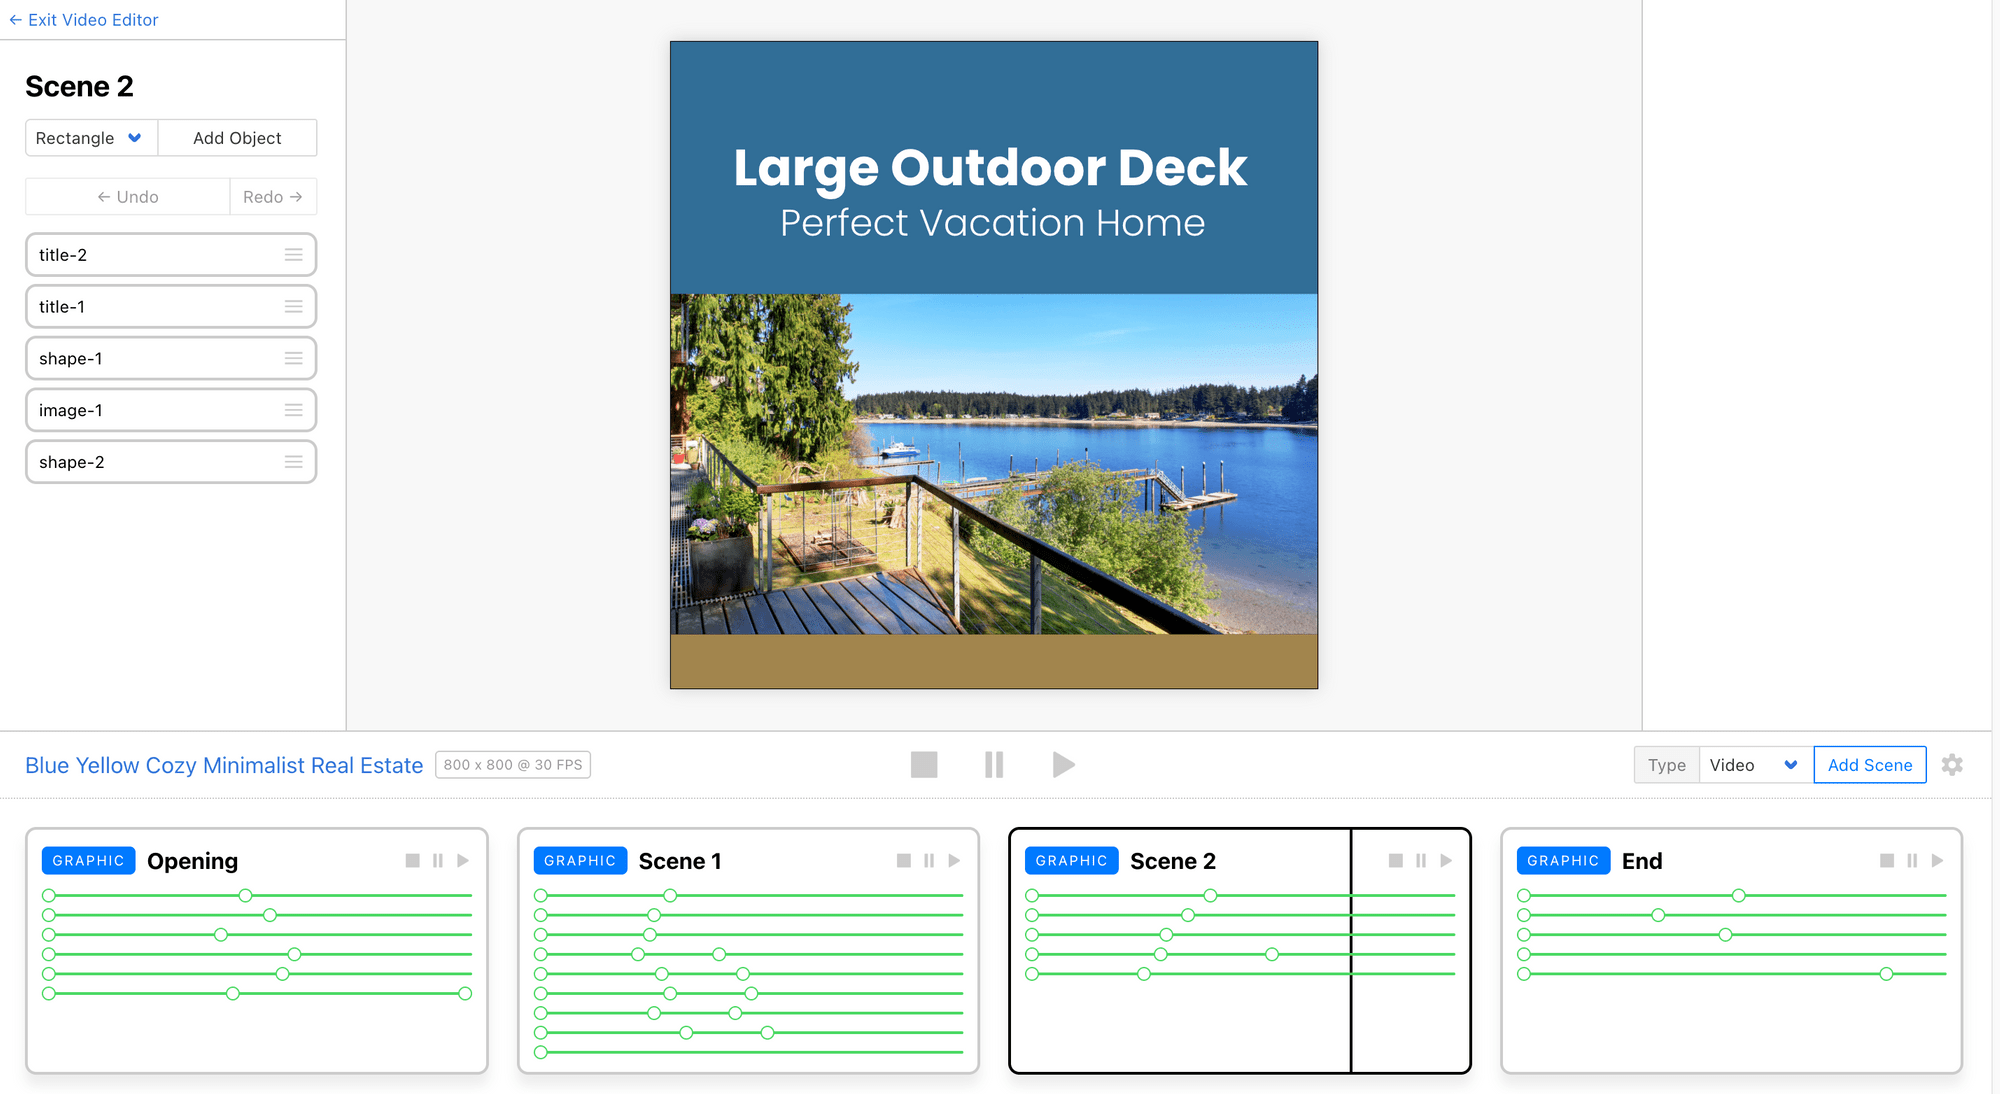
This template has four scenes, each designed differently:
Scene 1
Scene 2
Scene 3
Scene 4
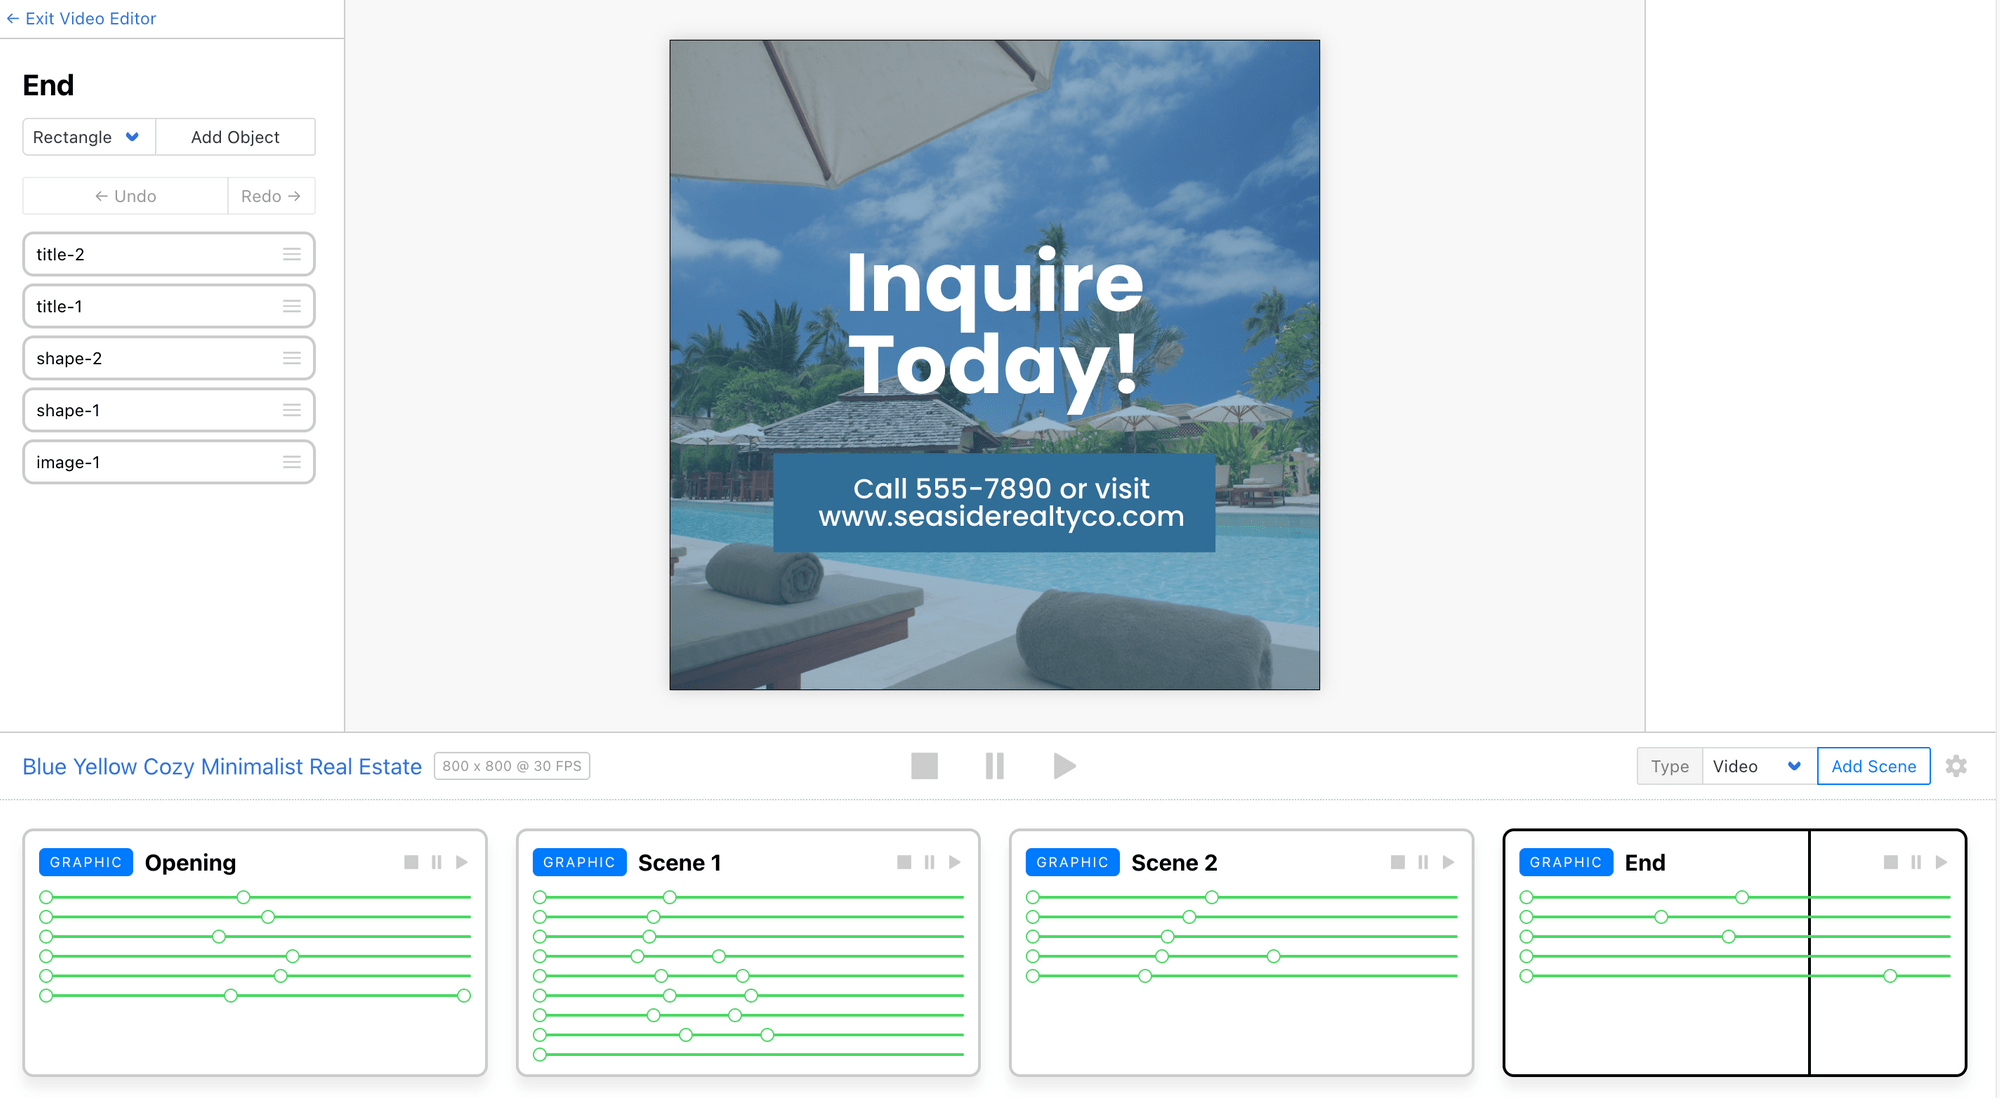
Once you’ve added the template to your account, you’re ready for the next step!
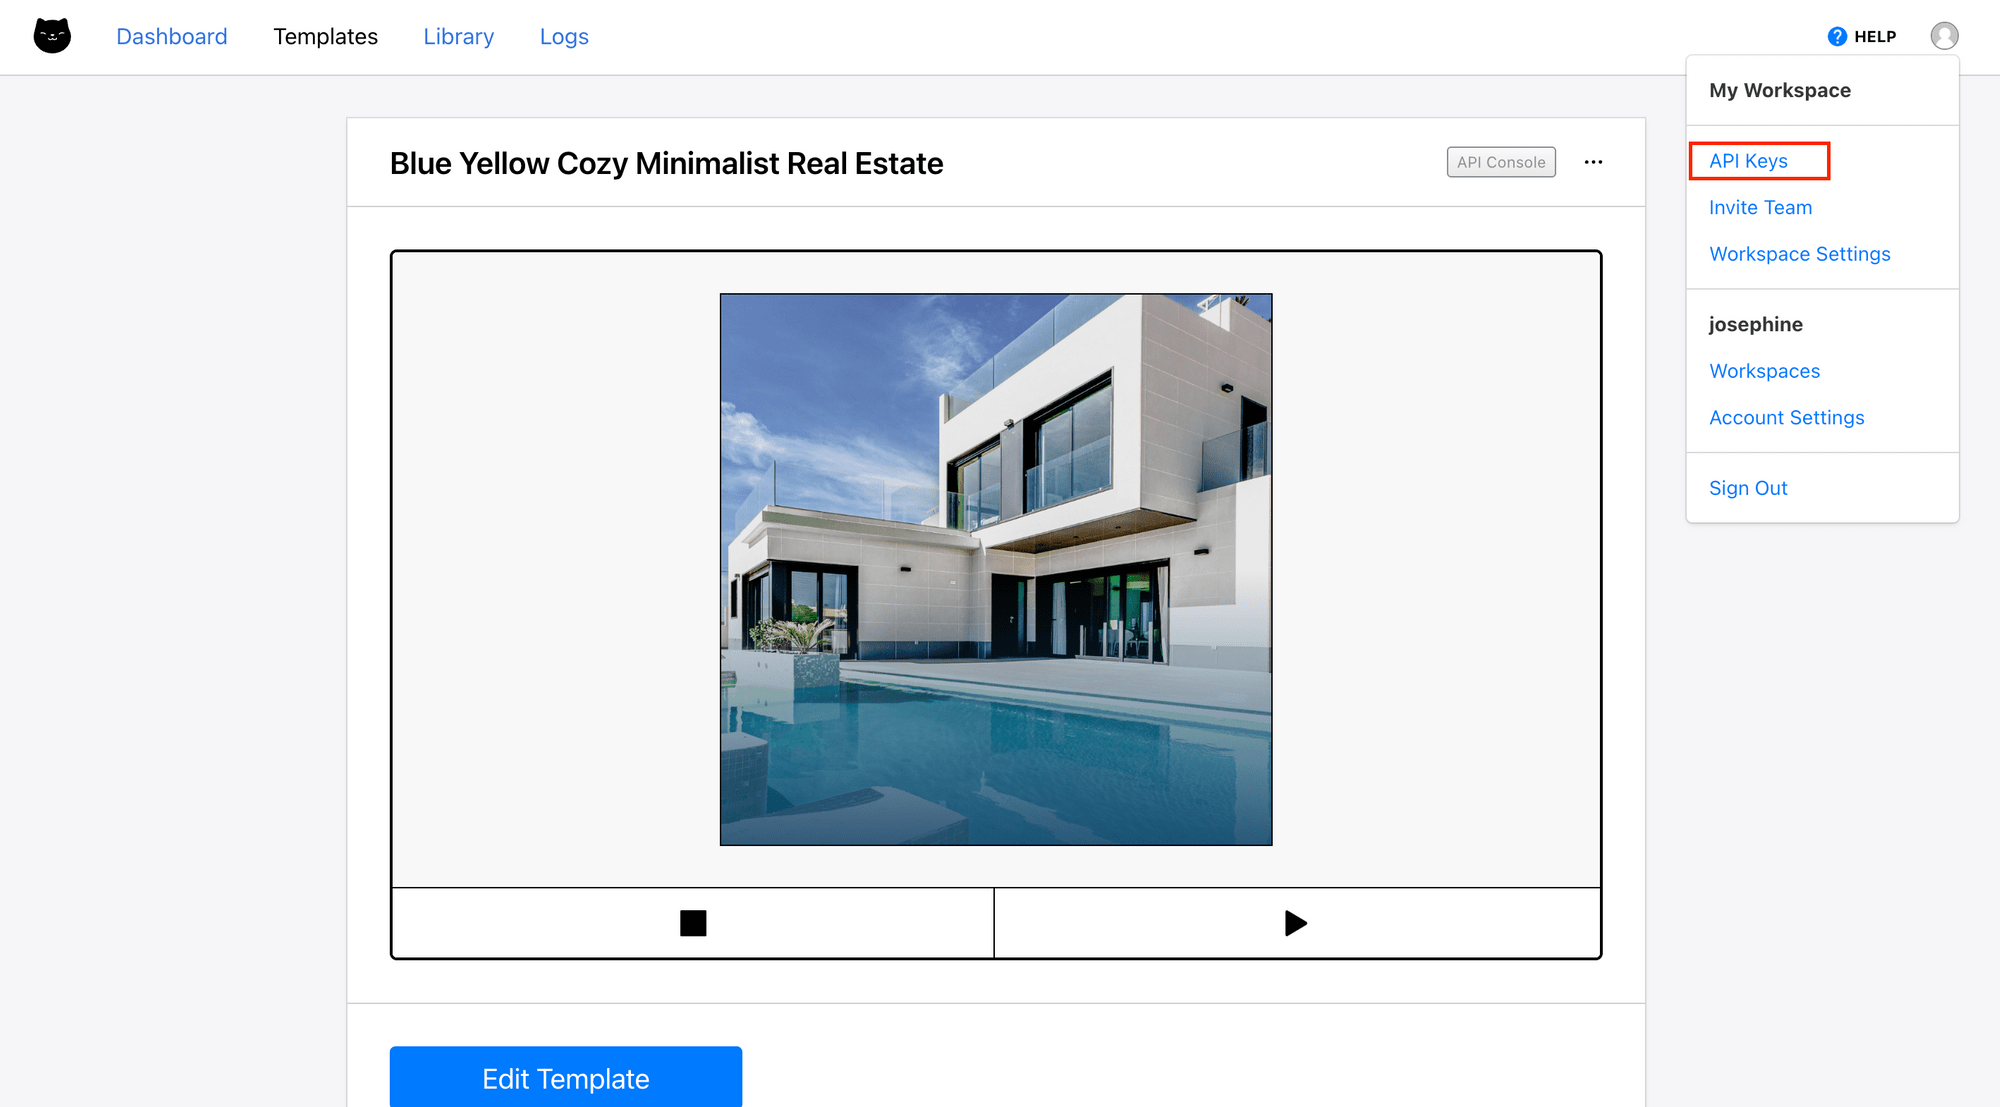
Getting Your Clipcat API Key and Template ID
To use Clipcat’s API, you’ll need an API key for authentication and the template ID to access your template.
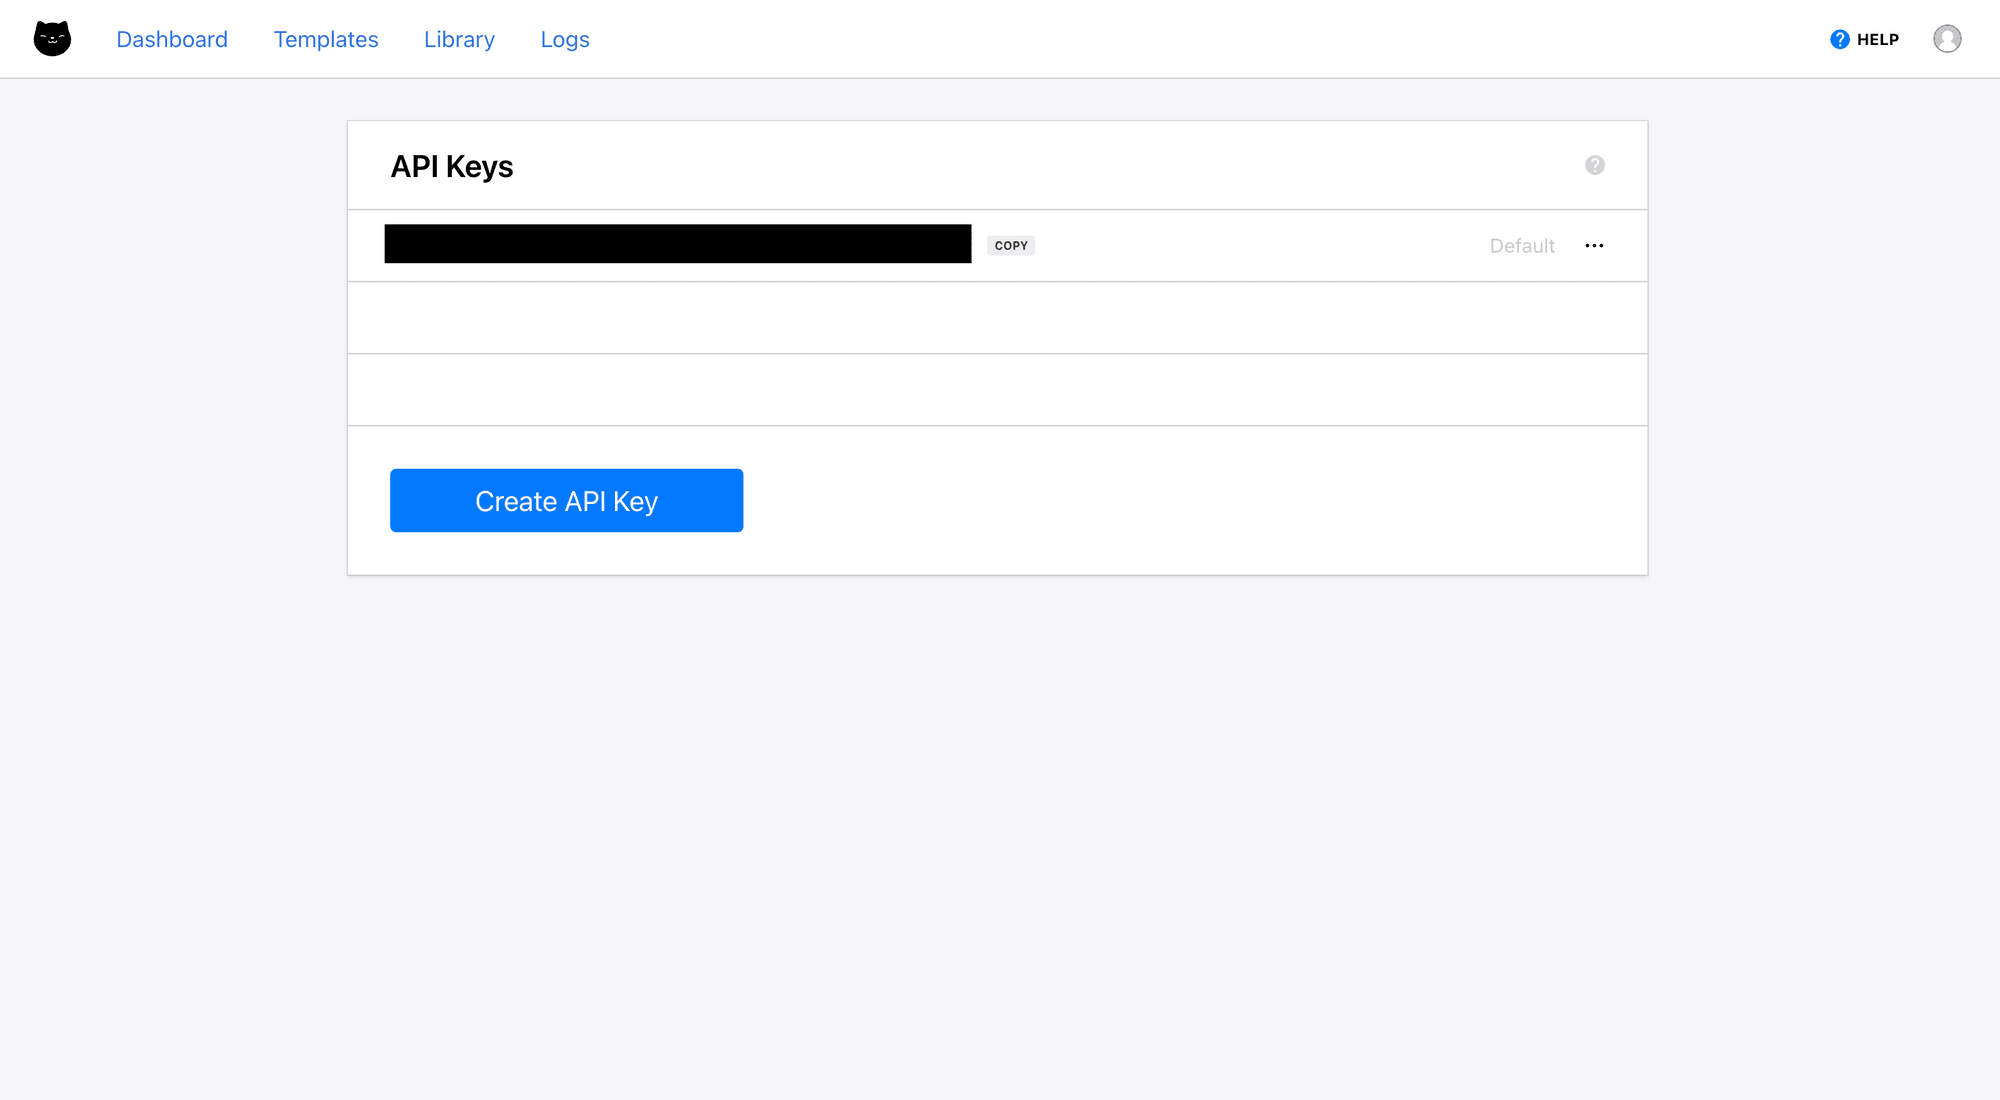
Retrieving Your API Key
To get your API key, click on your profile icon, go to “API Keys” and create a new one:
Finding Your Template ID
As for the template ID, you can find it on your template page. Click on the three dots at the top right corner of your template to view the template ID, just like what’s shown in the screenshot below:
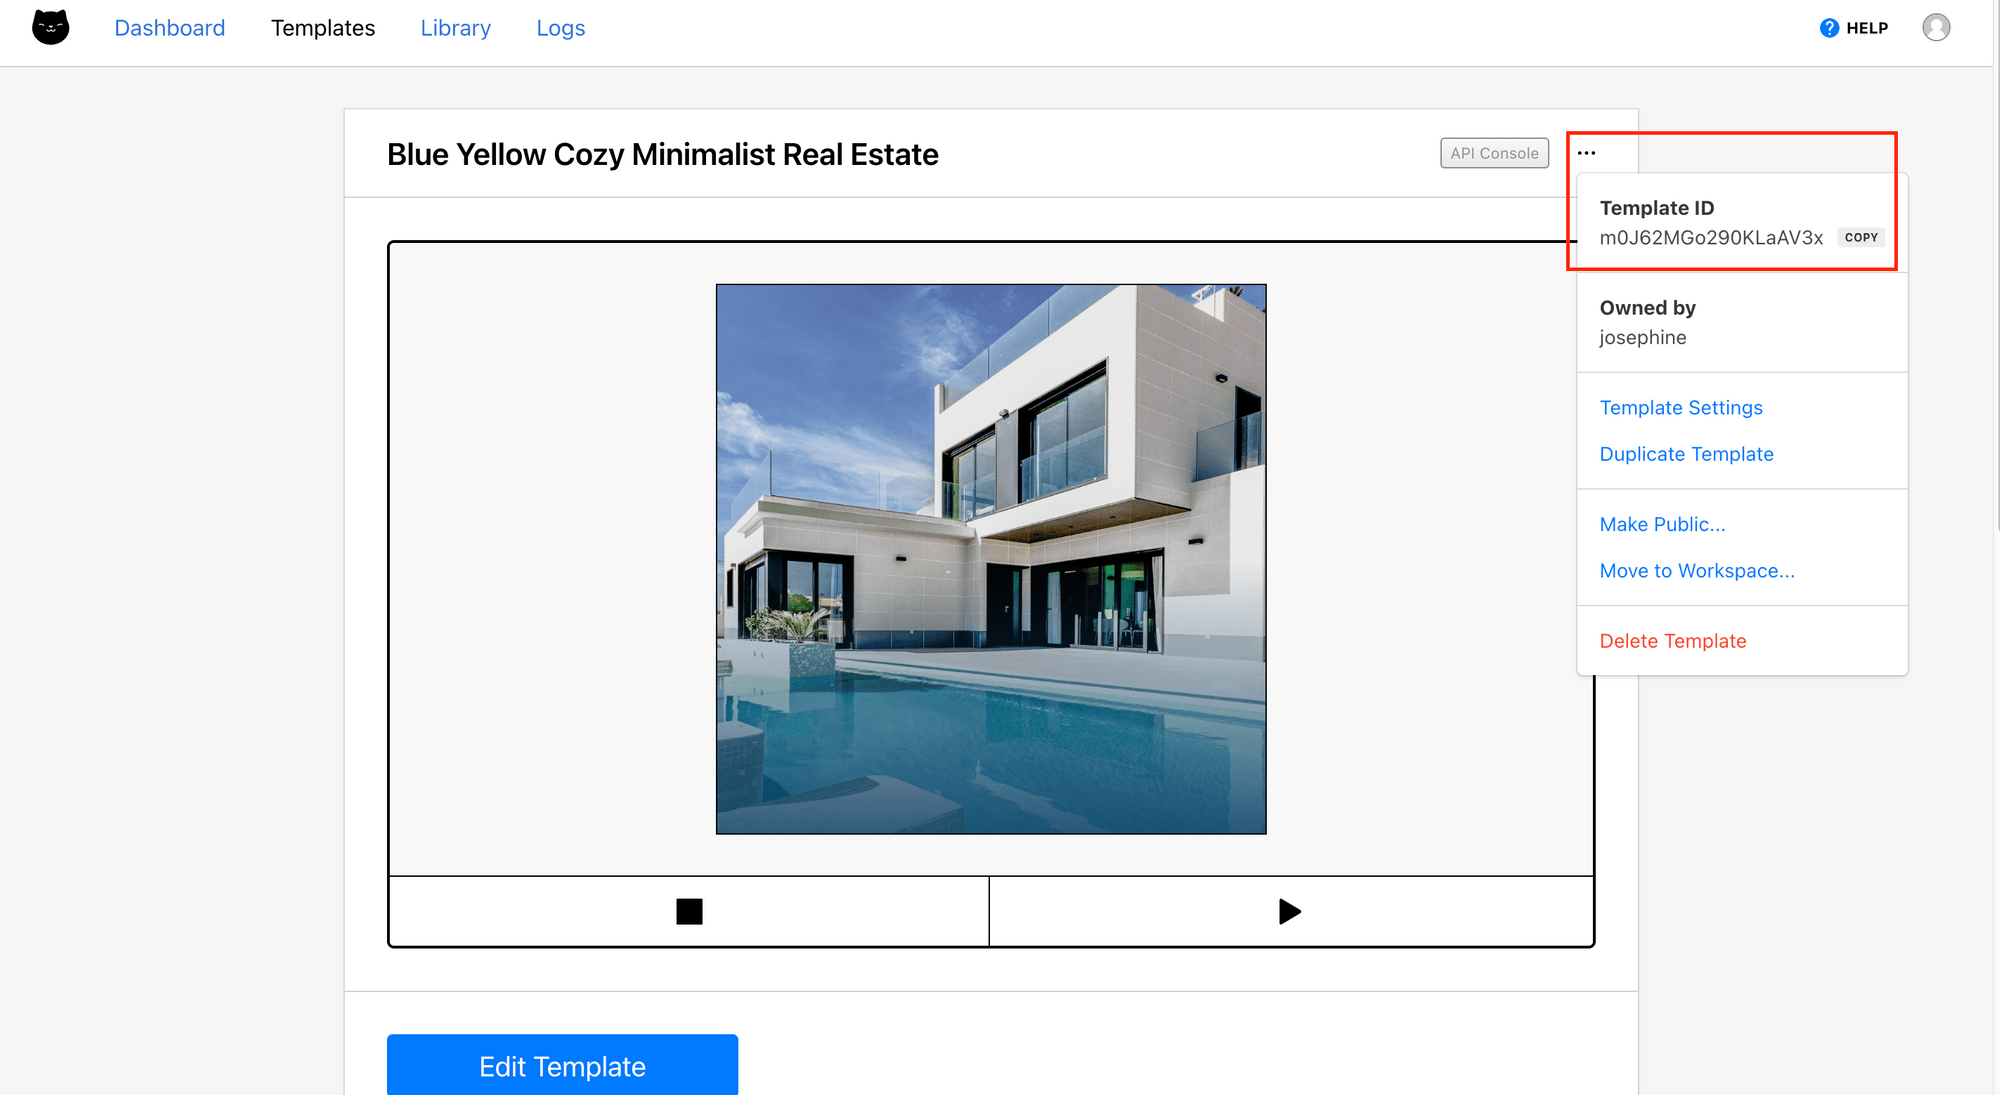
Copy and save them somewhere safe. We’ll need them for the API requests!
Generating Videos Using Clipcat API (Node.js)
To generate a video from your template using the API, you send a POST request to the endpoint below to modify the template (e.g., updating the text):
https://api.clipcat.com/v1/renders
Then, Clipcat will generate the video, and you can retrieve the result by sending a GET request to the endpoint below, using the uid returned from the POST request:
https://api.clipcat.com/v1/renders/:uid
🐱 Meow Memo: The Clipcat API works asynchronously. When you send a POST request, you create a new run. You can then get the generated result either through a webhook or by polling the API through GET requests.
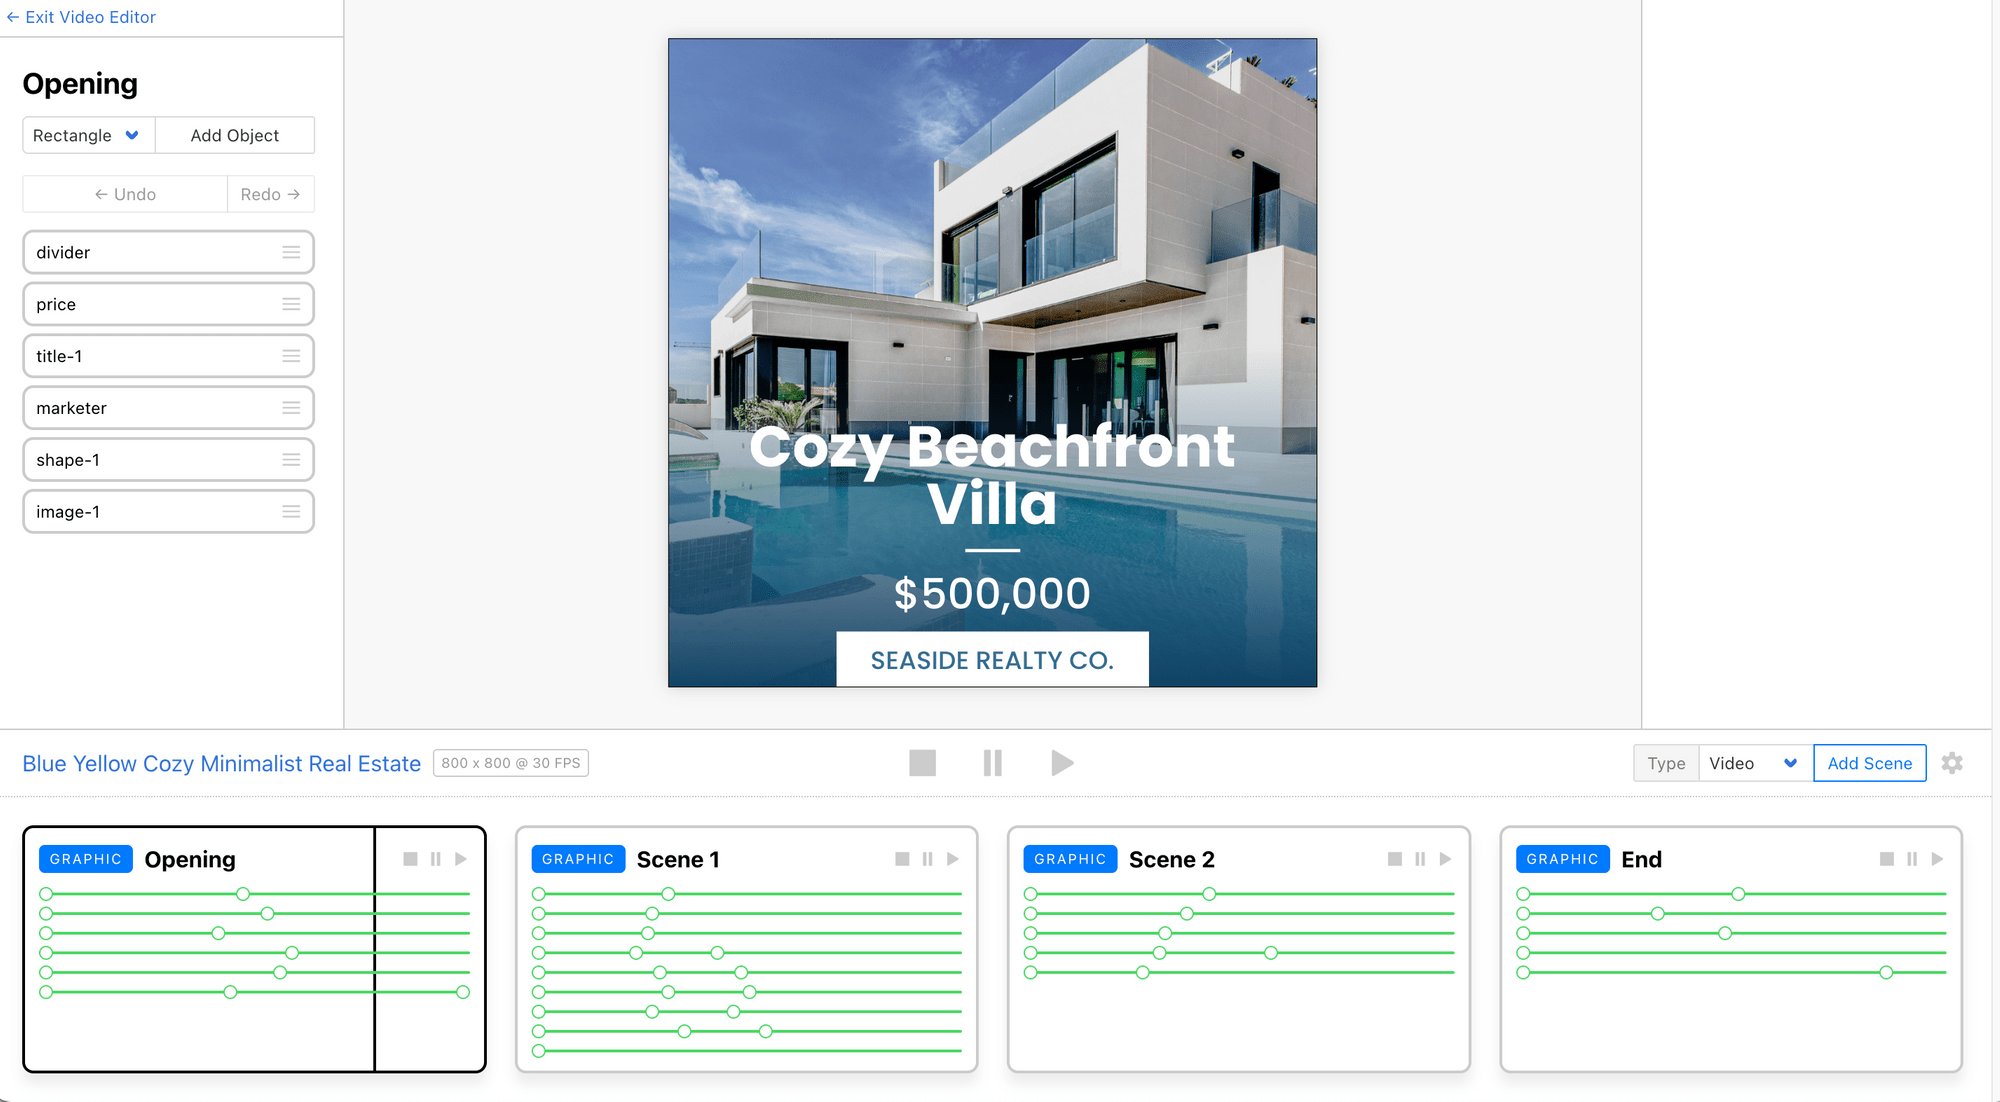
Now, let’s use the API to update the text and image in the first scene (opening) and generate a new video with the new opening scene below:

Step 1. Write a Script
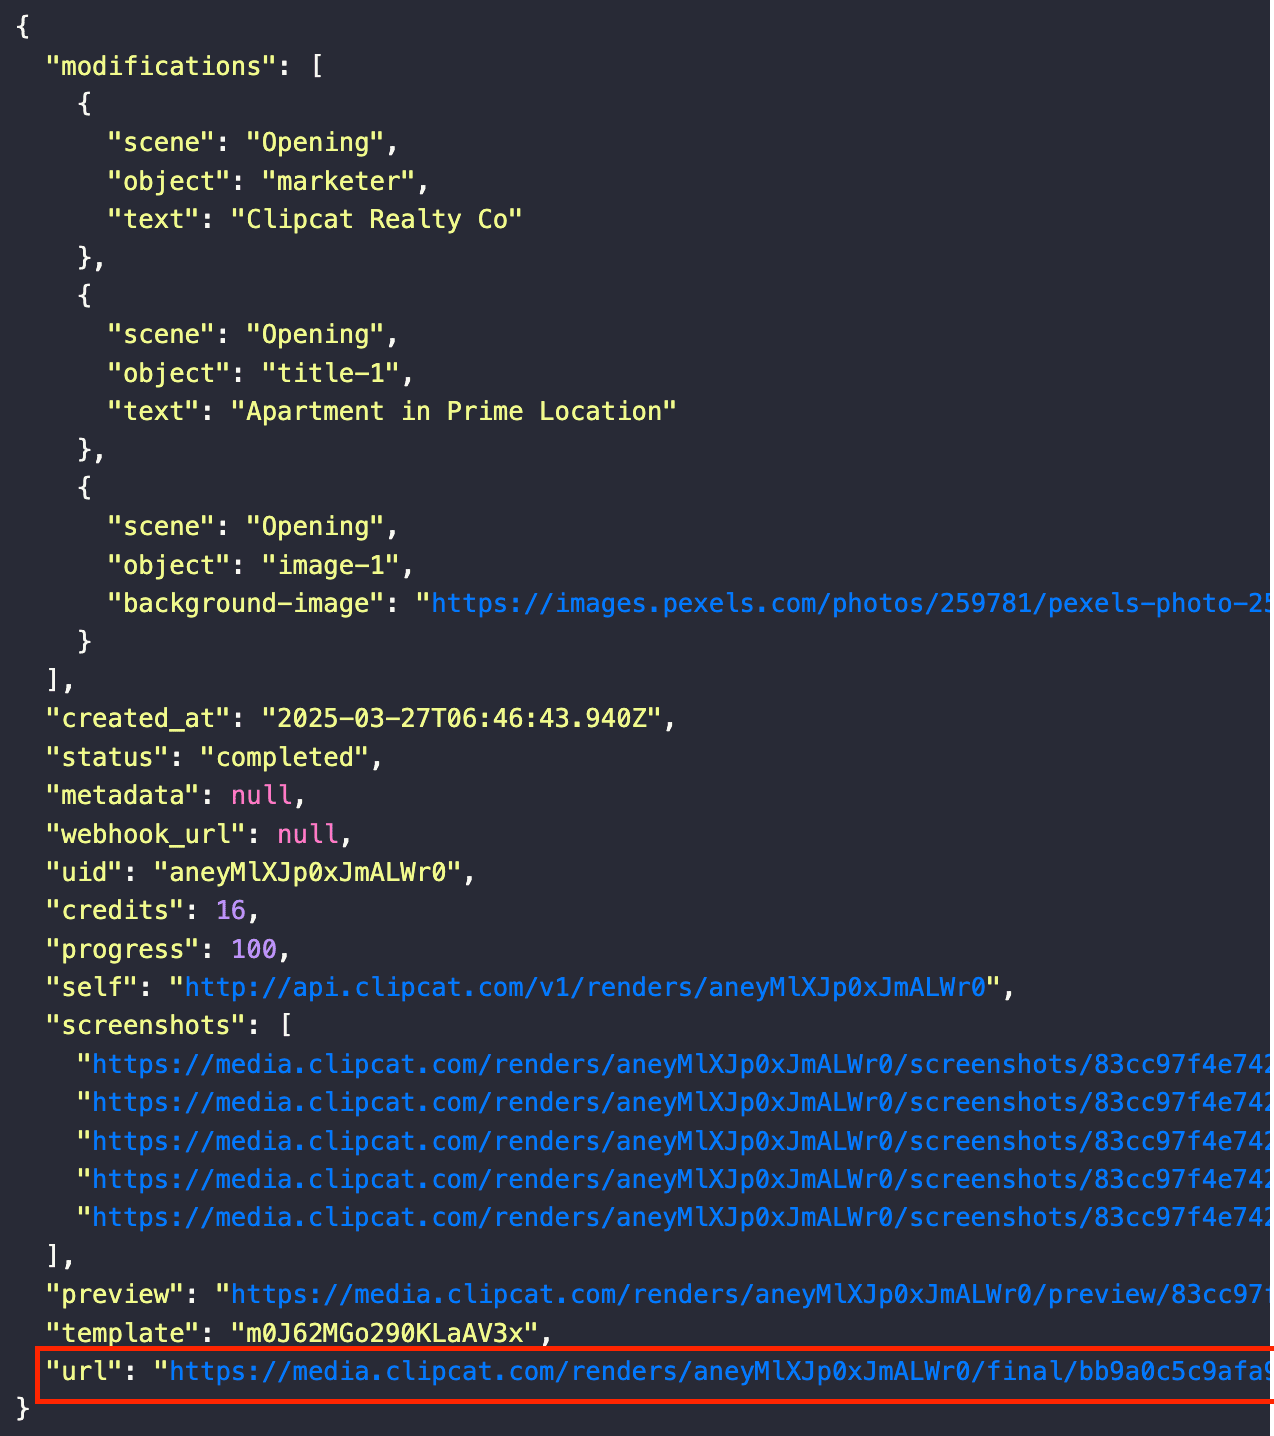
Prepare the data by specifying the template ID and adding the objects that you want to modify inside the modifications array:
var data = {
  template: 'your_template_id',
  modifications: [
    {
      'scene': 'Opening',
      'object': 'marketer',
      'text': 'Clipcat Realty Co',
    },
    {
      'scene': 'Opening',
      'object': 'title-1',
      'text': 'Apartment in Prime Location',
    },
    {
      'scene': 'Opening',
      'object': 'image-1',
      'background-image': 'https://images.pexels.com/photos/259781/pexels-photo-259781.jpeg?auto=compress&cs=tinysrgb&w=1260&h=750&dpr=2',
    },
  ],
};
🐱 Meow Memo: Check out Clipcat'sAPI Reference for more object attributes that you can modify using the API.
Then, send a POST request to the /renders endpoint:
await fetch('https://api.clipcat.com/v1/renders', {
  method: 'POST',
  body: JSON.stringify(data),
  headers: {
    'Content-Type': 'application/json',
    Authorization: `Bearer ${your_api_key}`,
  },
});
Here’s the full script:
(async () => {
  var data = {
    template: 'your_template_id',
    modifications: [
      {
        'scene': 'Opening',
        'object': 'marketer',
        'text': 'Clipcat Realty Co',
      },
      {
        'scene': 'Opening',
        'object': 'title-1',
        'text': 'Apartment in Prime Location',
      },
      {
        'scene': 'Opening',
        'object': 'image-1',
        'background-image': 'https://images.pexels.com/photos/259781/pexels-photo-259781.jpeg?auto=compress&cs=tinysrgb&w=1260&h=750&dpr=2',
      },
    ],
  };

  await fetch('https://api.clipcat.com/v1/renders', {
    method: 'POST',
    body: JSON.stringify(data),
    headers: {
      'Content-Type': 'application/json',
      Authorization: `Bearer ${your_api_key}`,
    },
  });
})();
Step 2. Run the Script
Run the script by running the command below in your terminal/command prompt:
node index.js
Clipcat will start rendering the video.
Step 3. Retrieve the Result
You can get the result by polling the API, using a webhook, or directly from the dashboard.
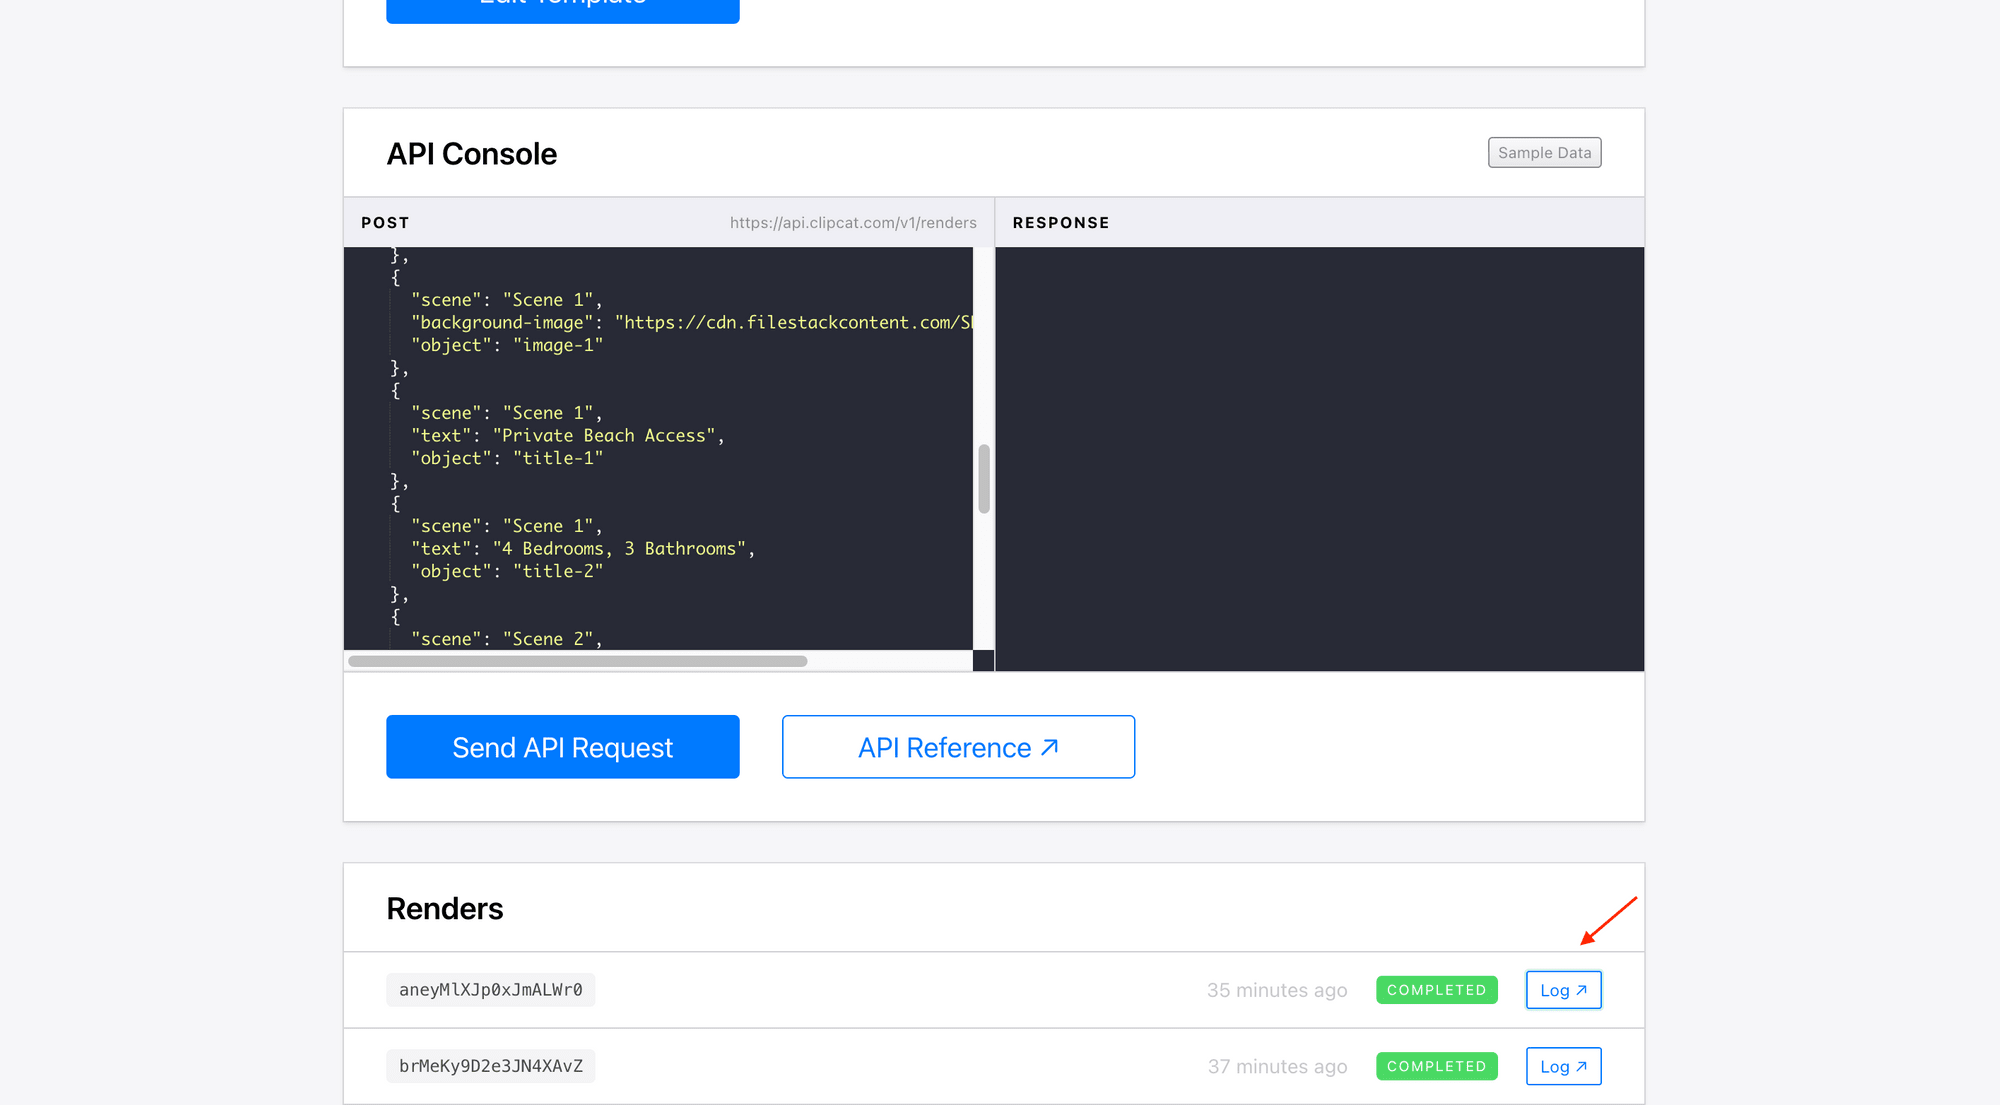
In the API response, the video URL will be returned as url:
Voila! That’s how you can generate a video from a template without any manual editing. The same applies to other scenes—just add the objects you want to update inside the modifications array.
Using Clipcat API in Other Programming Languages
Now that we've learned how to generate videos using the API in Node.js, here are code examples in other programming languages for your reference. The process is the same—you send a POST request to the Clipcat API and modify template elements dynamically.
Here’s how you can implement the same video generation workflow in different languages:
Python
import requests

data = {
    "template": "your_template_id",
    "modifications": [
        {
            "scene": "Opening",
            "object": "marketer",
            "text": "Clipcat Realty Co"
        },
        {
            "scene": "Opening",
            "object": "title-1",
            "text": "Apartment in Prime Location"
        },
        {
            "scene": "Opening",
            "object": "image-1",
            "background-image": "https://images.pexels.com/photos/259781/pexels-photo-259781.jpeg?auto=compress&cs=tinysrgb&w=1260&h=750&dpr=2"
        }
    ]
}

headers = {
    "Content-Type": "application/json",
    "Authorization": f"Bearer {your_api_key}"
}

response = requests.post("https://api.clipcat.com/v1/renders", json=data, headers=headers)
PHP
$data = [
    "template" => "your_template_id",
    "modifications" => [
        [
            "scene" => "Opening",
            "object" => "marketer",
            "text" => "Clipcat Realty Co"
        ],
        [
            "scene" => "Opening",
            "object" => "title-1",
            "text" => "Apartment in Prime Location"
        ],
        [
            "scene" => "Opening",
            "object" => "image-1",
            "background-image" => "https://images.pexels.com/photos/259781/pexels-photo-259781.jpeg?auto=compress&cs=tinysrgb&w=1260&h=750&dpr=2"
        ]
    ]
];

$headers = [
    "Content-Type: application/json",
    "Authorization: Bearer " . $your_api_key
];

$ch = curl_init("https://api.clipcat.com/v1/renders");
curl_setopt($ch, CURLOPT_RETURNTRANSFER, true);
curl_setopt($ch, CURLOPT_POST, true);
curl_setopt($ch, CURLOPT_POSTFIELDS, json_encode($data));
curl_setopt($ch, CURLOPT_HTTPHEADER, $headers);

$response = curl_exec($ch);
curl_close($ch);
Ruby
require 'net/http'
require 'json'

data = {
  template: 'your_template_id',
  modifications: [
    { scene: 'Opening', object: 'marketer', text: 'Clipcat Realty Co' },
    { scene: 'Opening', object: 'title-1', text: 'Apartment in Prime Location' },
    { scene: 'Opening', object: 'image-1', 'background-image': 'https://images.pexels.com/photos/259781/pexels-photo-259781.jpeg?auto=compress&cs=tinysrgb&w=1260&h=750&dpr=2' }
  ]
}

uri = URI('https://api.clipcat.com/v1/renders')
req = Net::HTTP::Post.new(uri, 'Content-Type' => 'application/json', 'Authorization' => "Bearer #{your_api_key}")
req.body = data.to_json

res = Net::HTTP.start(uri.hostname, uri.port, use_ssl: true) { |http| http.request(req) }
Java
import java.io.OutputStream;
import java.net.HttpURLConnection;
import java.net.URL;
import java.nio.charset.StandardCharsets;

public class ClipcatAPIRequest {
    public static void main(String[] args) {
        try {
            String apiUrl = "https://api.clipcat.com/v1/renders";
            String apiKey = "your_api_key";

            String jsonInputString = "{"
                    + "\"template\": \"your_template_id\","
                    + "\"modifications\": ["
                    + "{ \"scene\": \"Opening\", \"object\": \"marketer\", \"text\": \"Clipcat Realty Co\" },"
                    + "{ \"scene\": \"Opening\", \"object\": \"title-1\", \"text\": \"Apartment in Prime Location\" },"
                    + "{ \"scene\": \"Opening\", \"object\": \"image-1\", \"background-image\": \"https://images.pexels.com/photos/259781/pexels-photo-259781.jpeg?auto=compress&cs=tinysrgb&w=1260&h=750&dpr=2\" }"
                    + "]"
                    + "}";

            URL url = new URL(apiUrl);
            HttpURLConnection conn = (HttpURLConnection) url.openConnection();
            conn.setRequestMethod("POST");
            conn.setRequestProperty("Content-Type", "application/json");
            conn.setRequestProperty("Authorization", "Bearer " + apiKey);
            conn.setDoOutput(true);

            try (OutputStream os = conn.getOutputStream()) {
                byte[] input = jsonInputString.getBytes(StandardCharsets.UTF_8);
                os.write(input, 0, input.length);
            }

            int responseCode = conn.getResponseCode();

            conn.disconnect();
        } catch (Exception e) {
            e.printStackTrace();
        }
    }
}
What’s Next
In this tutorial, we covered how to use the Clipcat API in a script to modify templates and generate videos dynamically. But you’re not limited to running standalone scripts—you can integrate Clipcat’s API into your applications to speed up development, automate video creation, and streamline your workflow.
Whether you're building a video editing tool, a marketing platform, an automated content generator, or a custom video solution, Clipcat’s API makes it easy to generate videos programmatically. Sign up for Clipcat and give it a try today!
🐱 Meow Memo: You’ll get 100 API credits with the free trial—no credit card needed!