How to Use Canva Video Editor: A Complete Tutorial for Beginners
Contents
Since its launch in 2012, Canva has completely changed how non-professionals handle photo editing. Before Canva, comprehensive photo editing and illustration tools like Adobe Photoshop and Illustrator were mostly limited to those with advanced skills. Canva changed that by offering a simple, drag-and-drop interface that allowed anyone to create professional-quality images with ease.
Building on this success, Canva has expanded its capabilities to include video editing. Like its photo editor, the Canva Video Editor uses an intuitive drag-and-drop interface, enabling users to create visually appealing videos without the steep learning curve of traditional video editing software. Now, creating professional-looking videos is as easy as creating images using Canva.
In this guide, we’ll explore the features of Canva Video Editor, walk you through a step-by-step tutorial on how to use it, and show you why it's a great tool for both beginners and professionals.
Introduction to Canva Video Editor
Canva Video Editor is an online, cloud-based tool designed for simple and fast video editing. It is accessible from any device with an internet connection and features a beginner-friendly drag-and-drop interface, making video creation easy even for those with no prior experience.
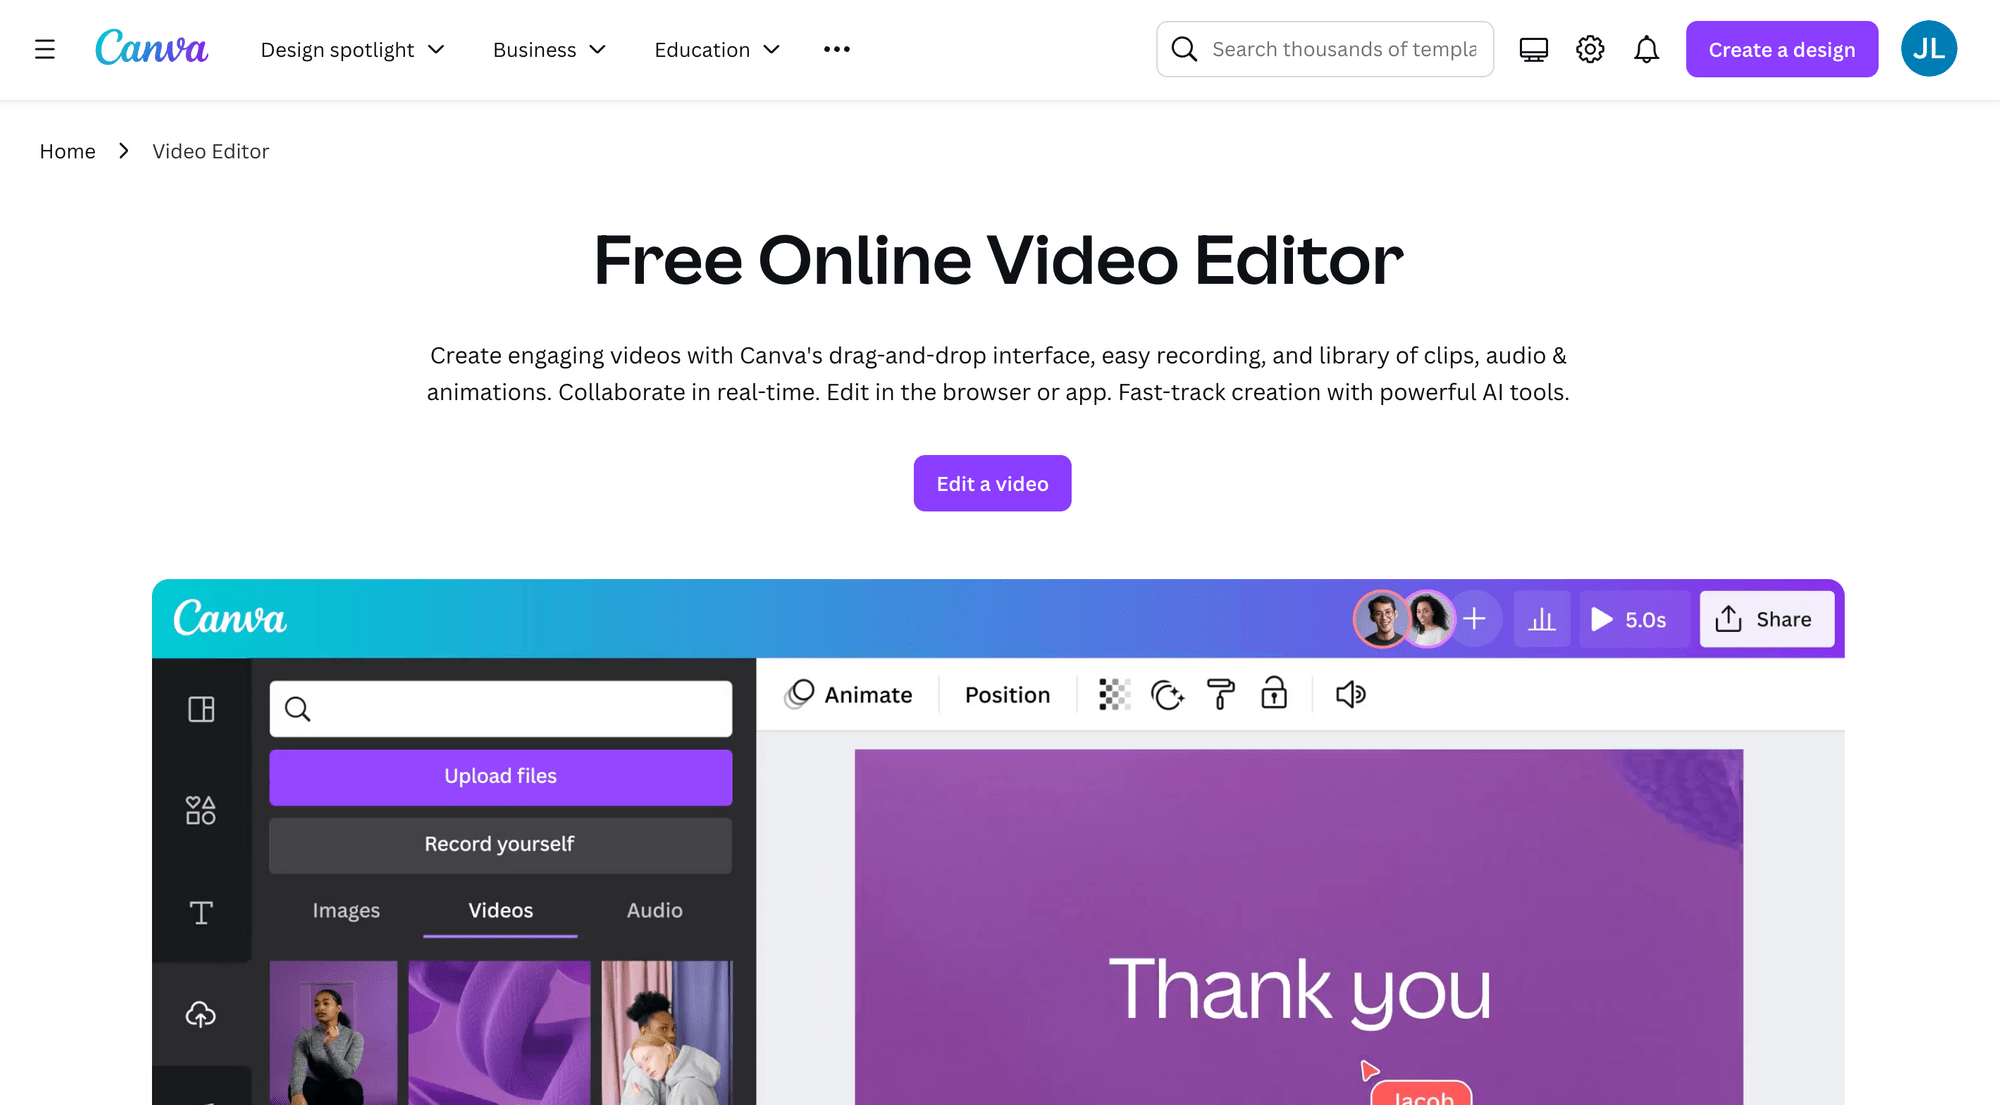
In addition to basic video editing, Canva integrates AI to automatically help you create custom, on-brand videos. Just describe your vision or upload your media, and the AI will handle the editing, add music, and generate a ready-to-post video in seconds.
Here are its key features:
- Comprehensive video editing features - Offers essential features like trimming, cropping, splitting, speed adjustment, resizing, and overlays.
- Templates and stock library - Access thousands of customizable video templates and millions of video clips, images, icons, and graphics for various purposes—whether it’s for social media, ads, or presentations.
- Collaboration - Real-time collaboration allows teams to work together on projects, share feedback, and make live edits.
- AI audio enhancer - Remove background noise and balance sound levels (with speech enhancement) to produce studio-quality audio for your videos.
- Built-in recording - Record voiceovers, yourself, or your screen content directly in Canva and edit on the spot.
- Auto-caption - Automatically generate captions to improve the accessibility of your video without the need for extra plugins or software.
- Beat syncing - Automatically match your video edits to the rhythm of background music.
Now that you understand Canva’s features, let's dive into how you can start creating your own videos in just a few easy steps!
How to Use Canva Video Editor
Getting started with Canva Video Editor is quick and simple. Here's a step-by-step guide:
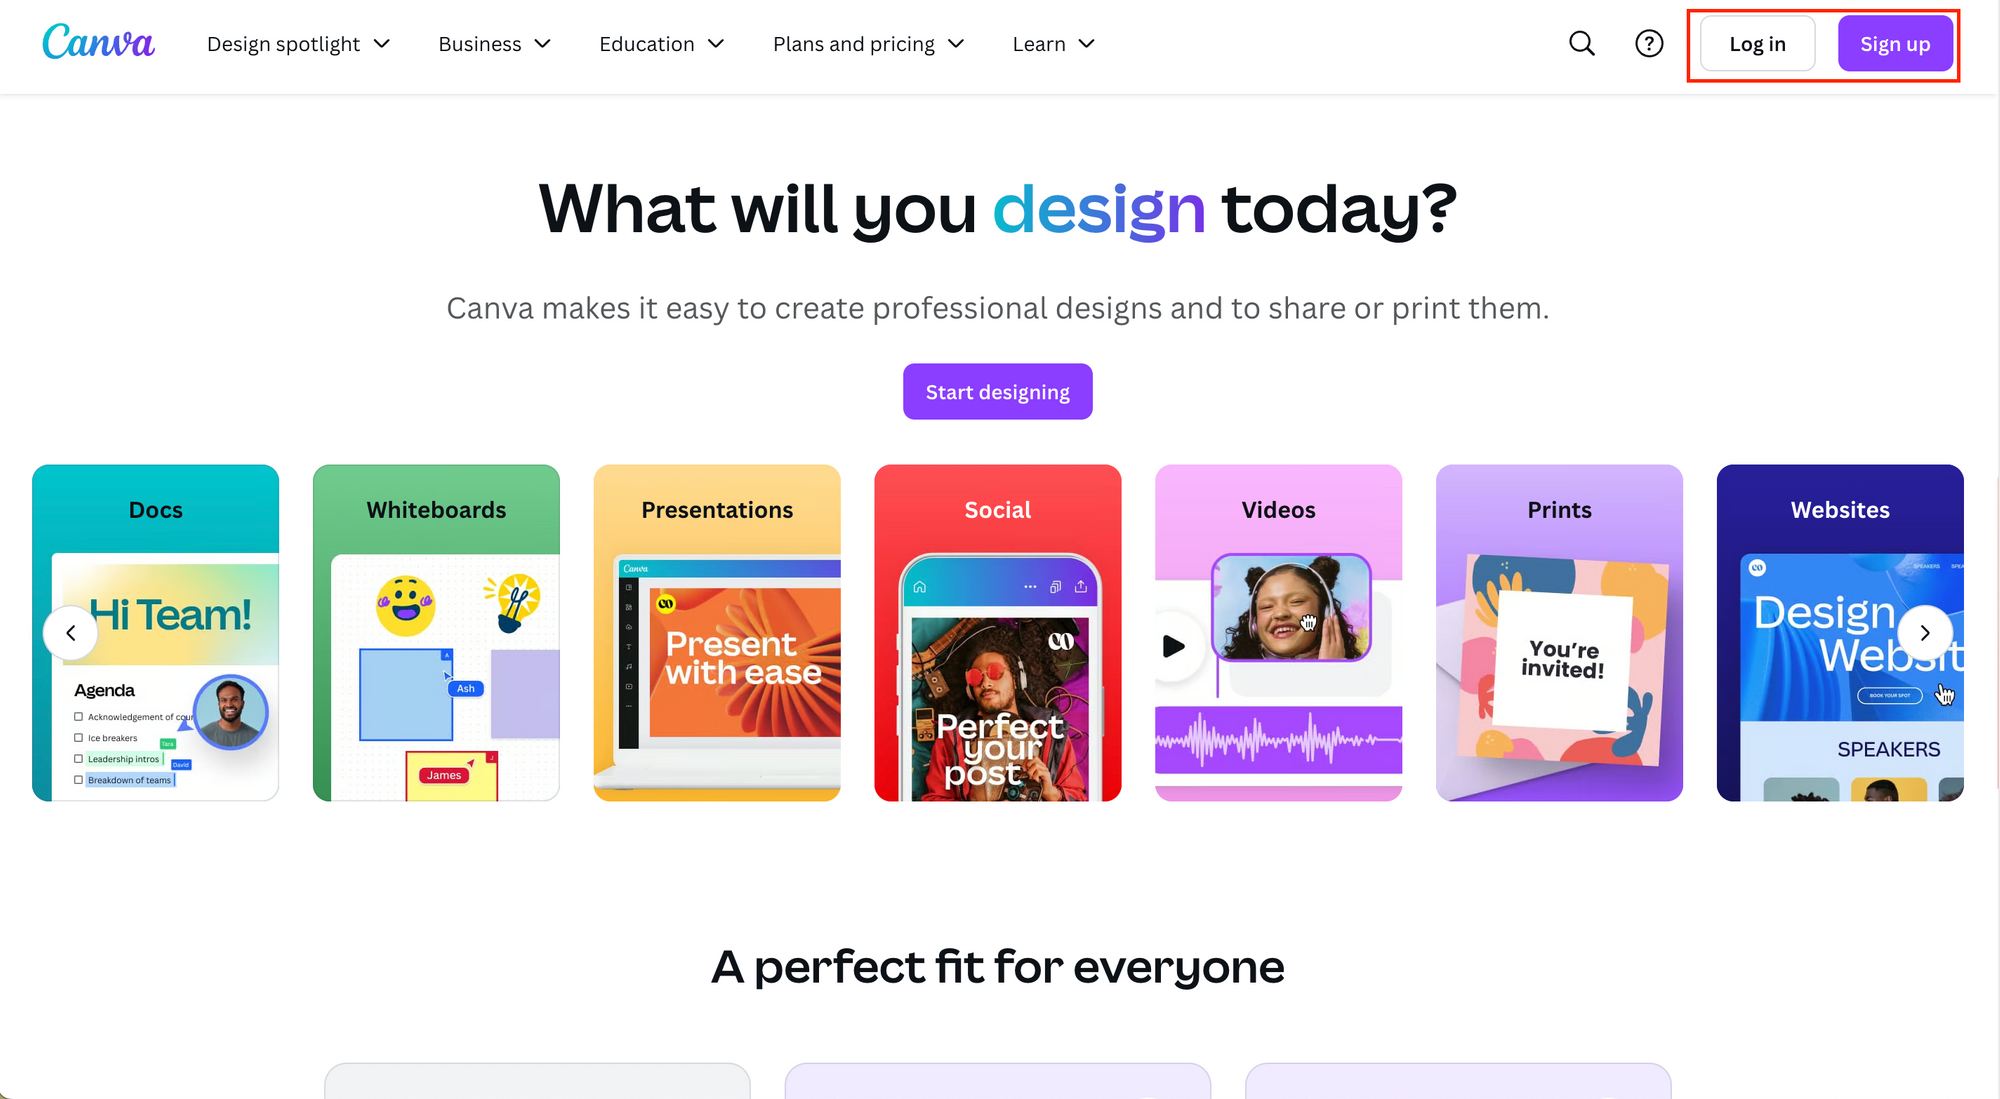
Step 1. Sign Up or Log In
Go to Canva.com and log in to your account, or create a new one if you're a first-time user:
😺 Cat Tips: Canva offers both free and Pro plans, with the Pro plan giving access to premium features like exclusive templates and extra storage.
Step 2. Access the Video Editor
Once you're logged in, go to the homepage and click on the “Create a design” button. Then, select "Video" from the dropdown menu:
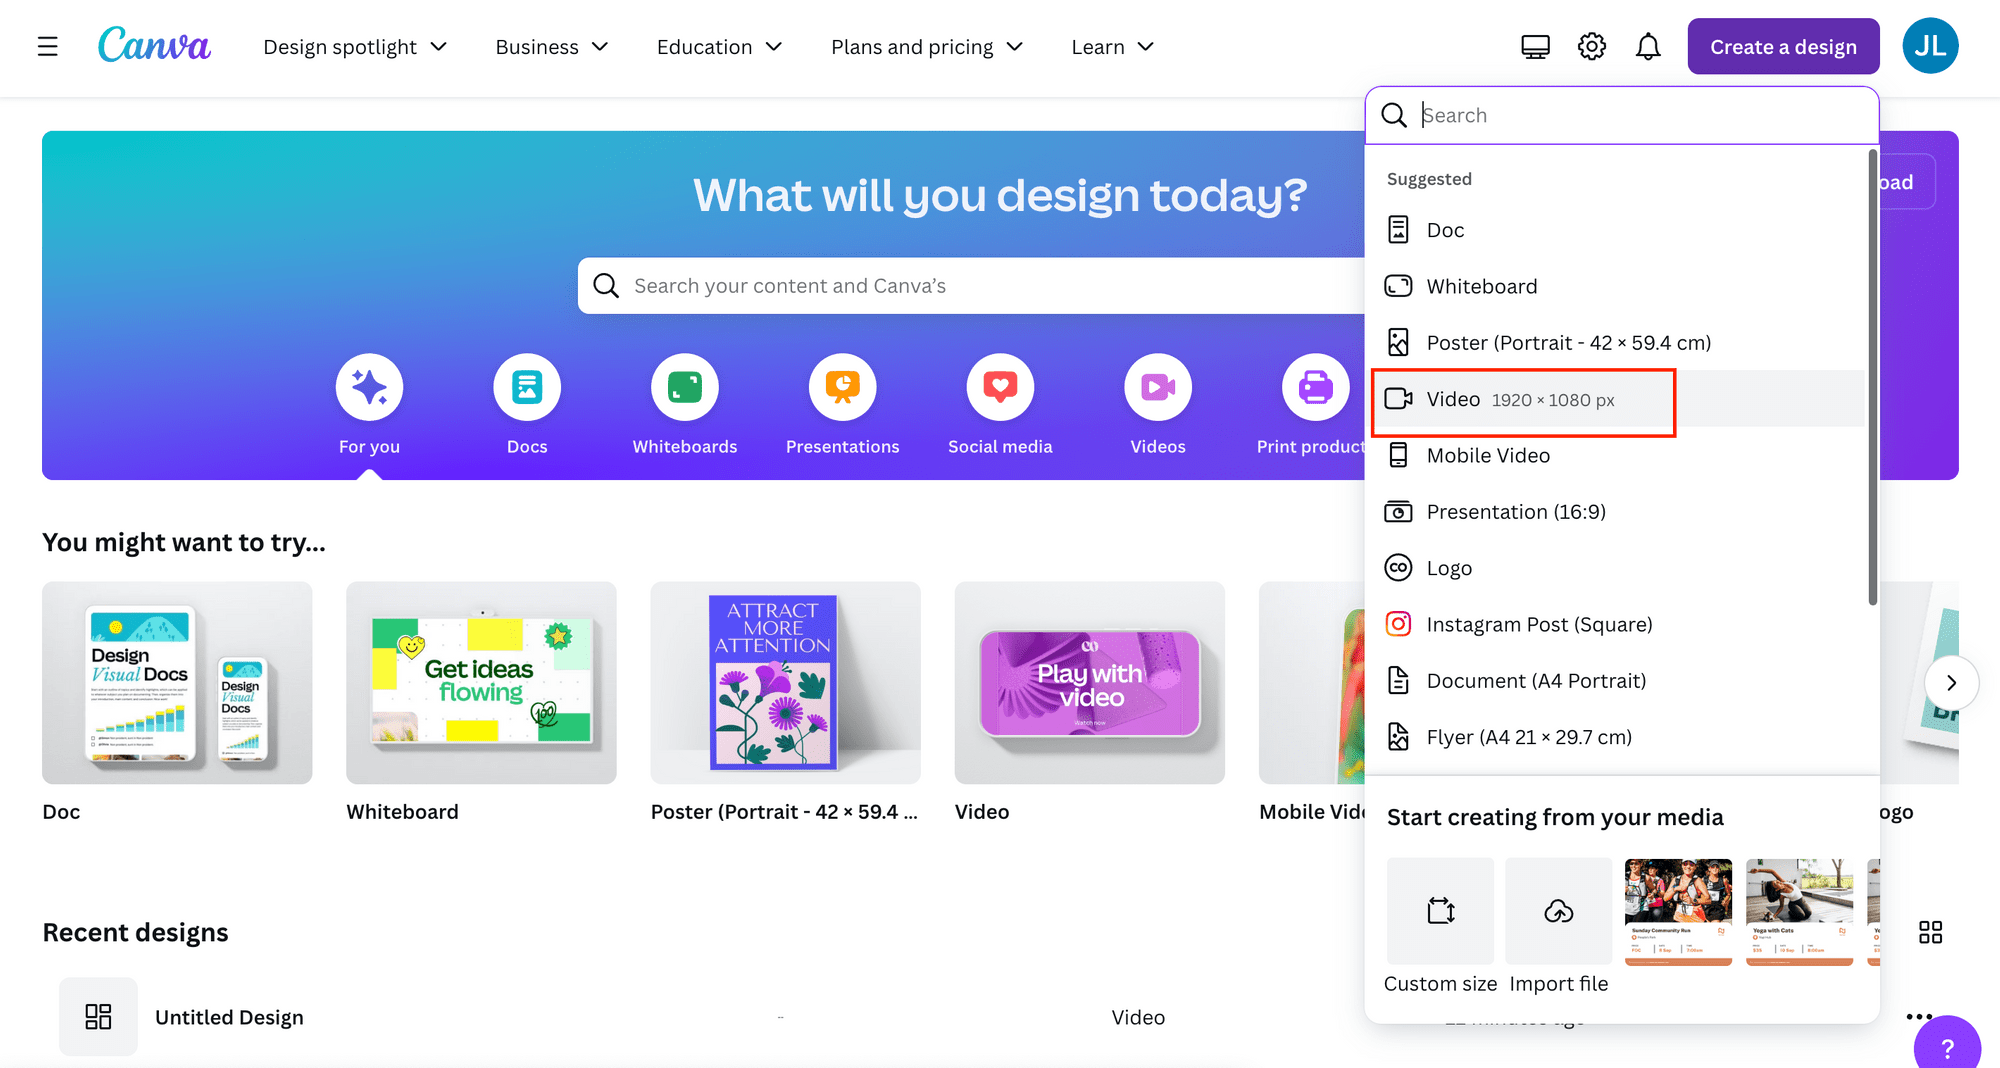
You'll be taken straight to the editing dashboard and you’re all set to start creating!
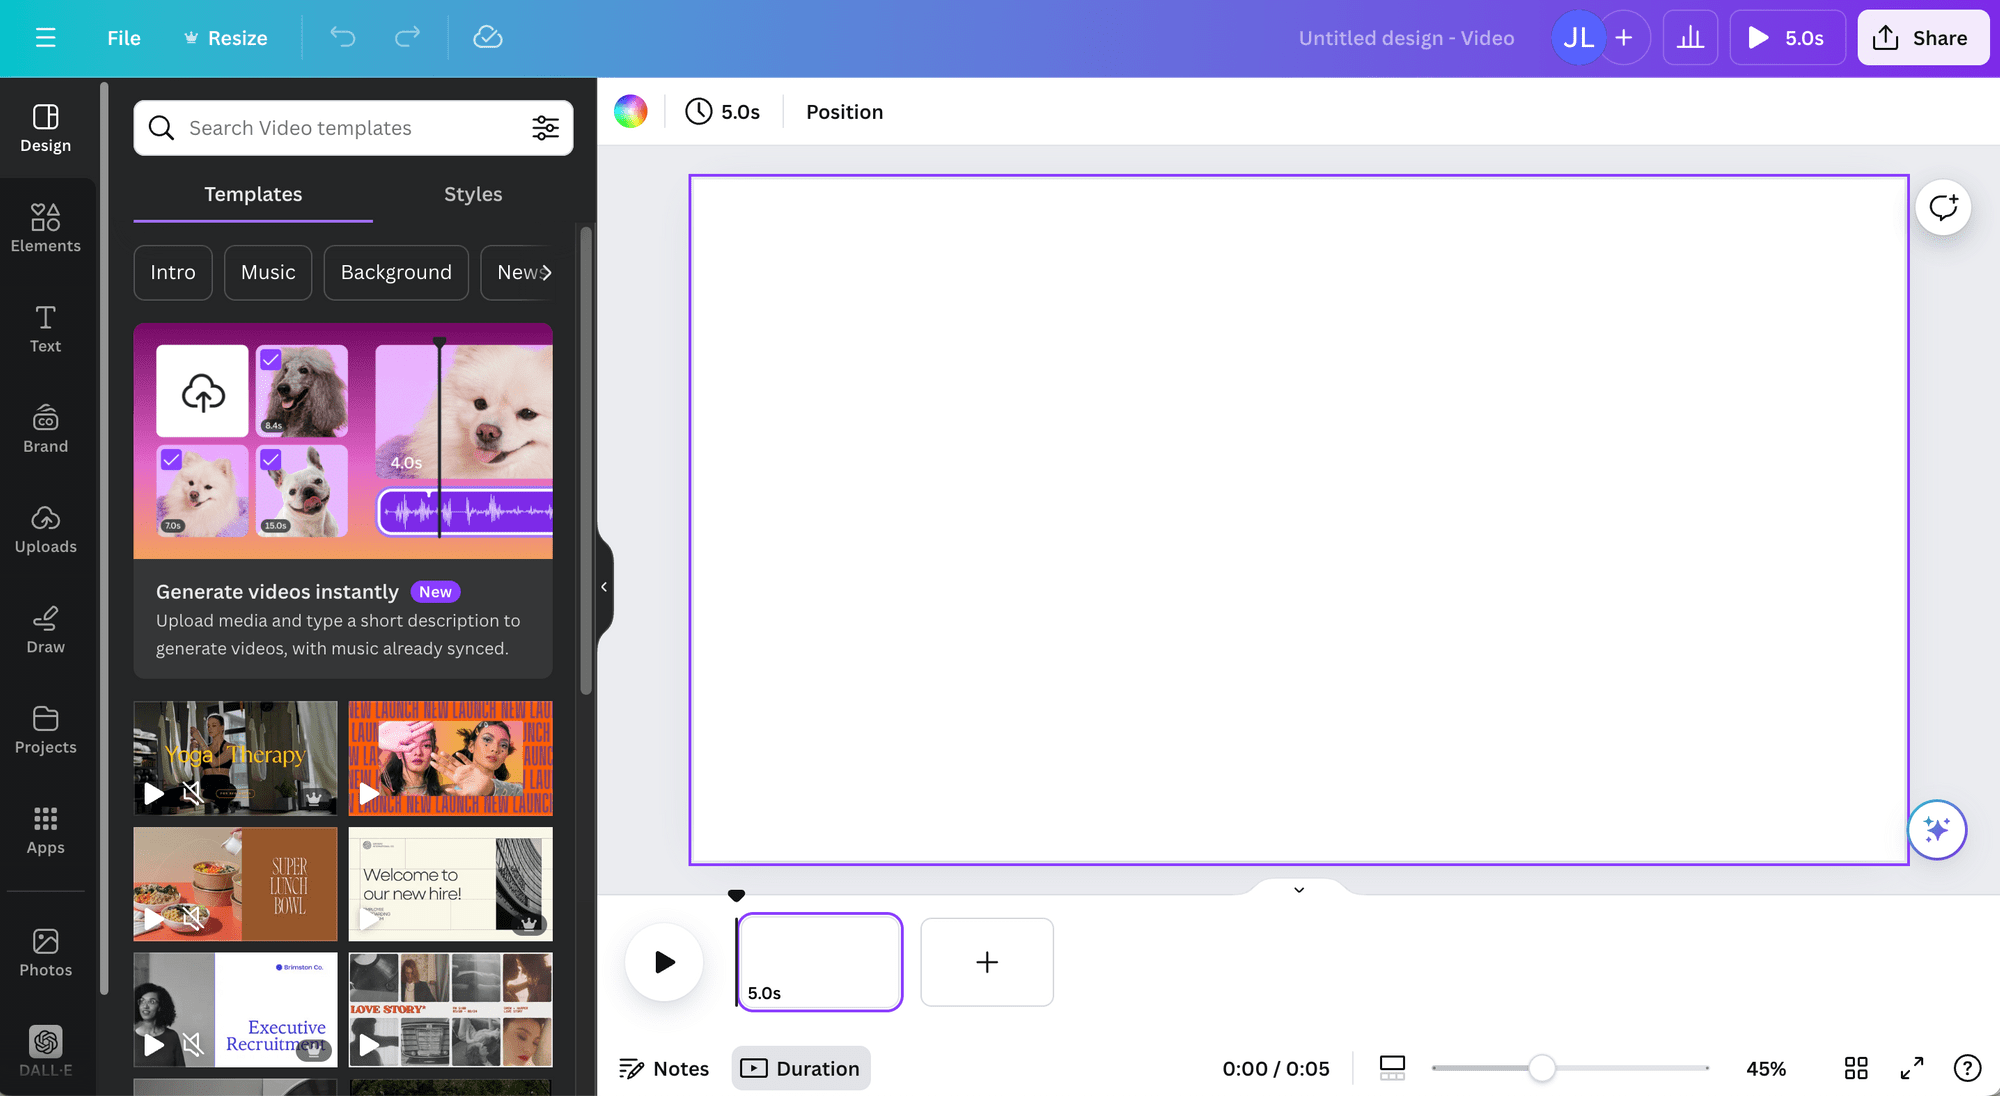
Step 3. Choose a Template or Start from Scratch
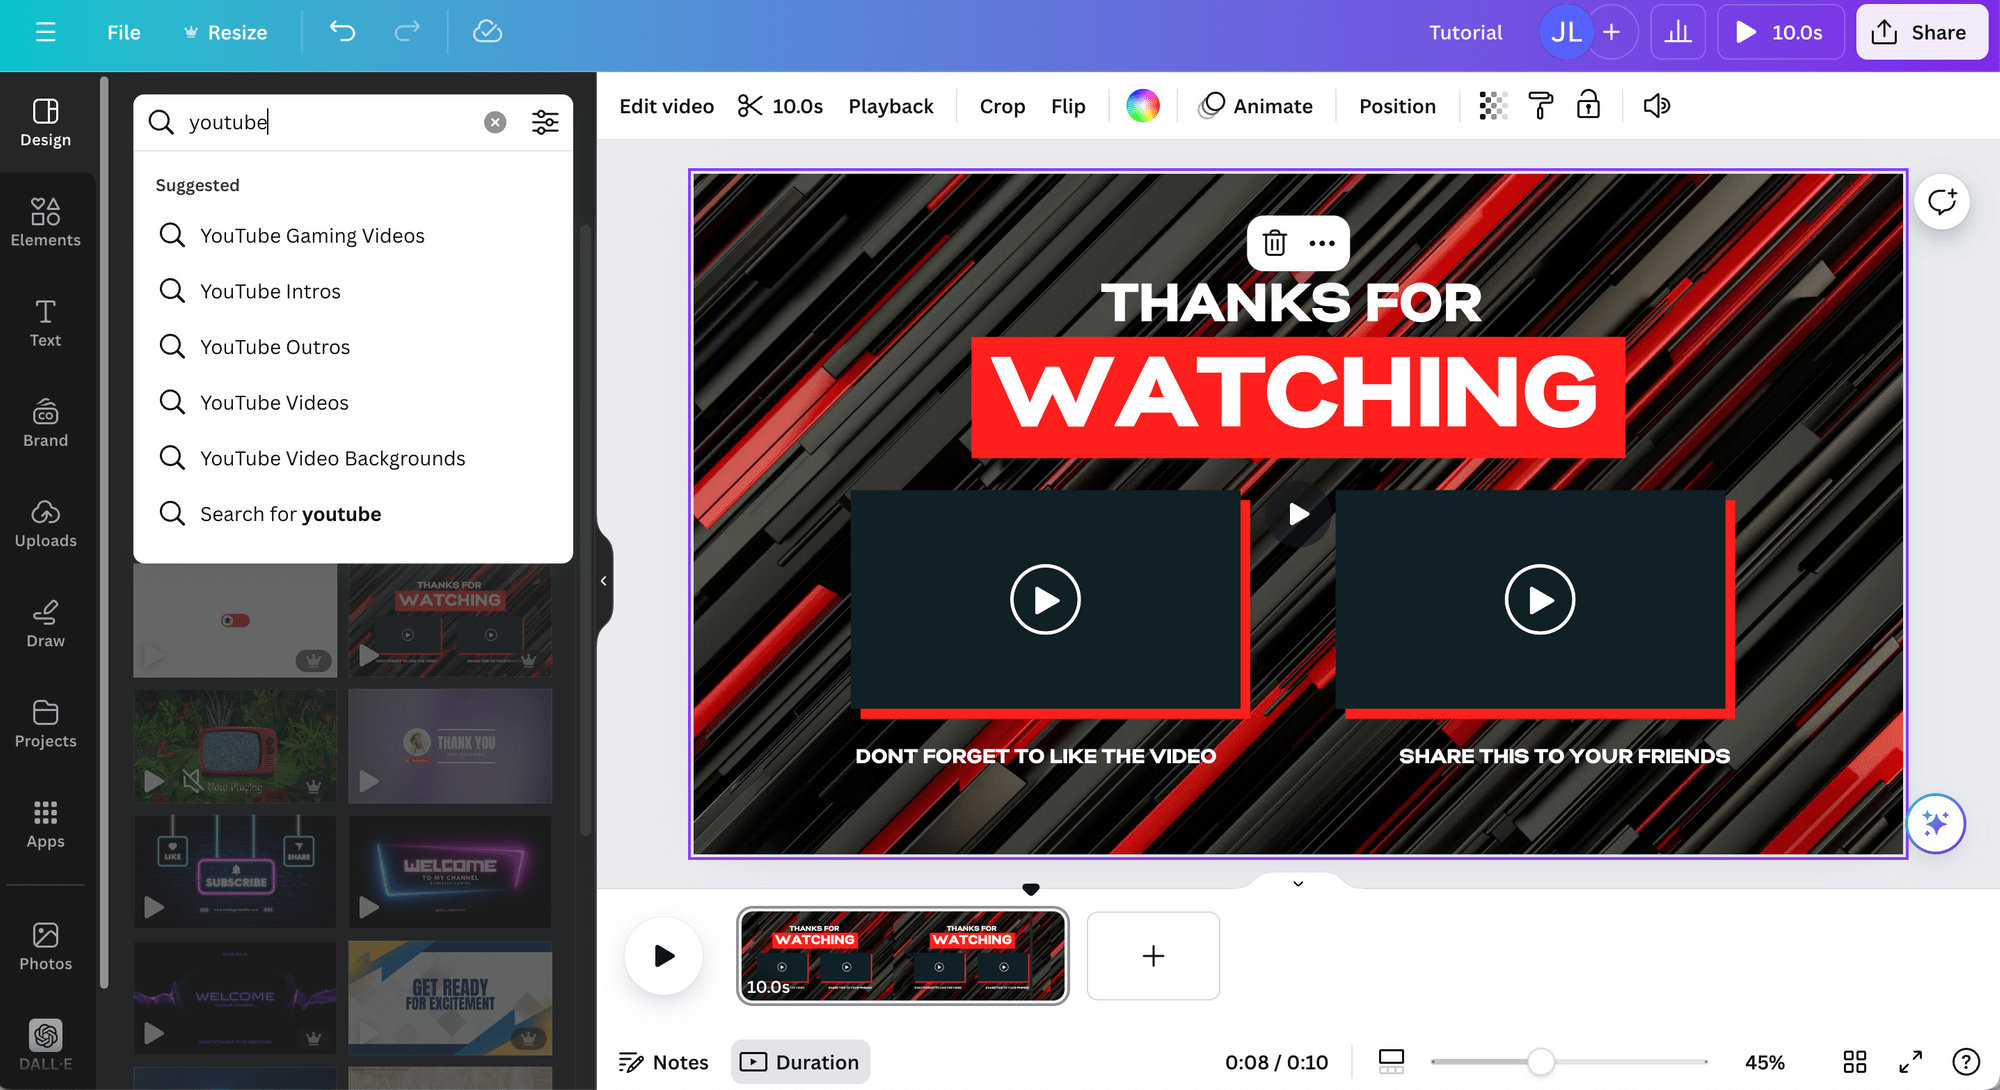
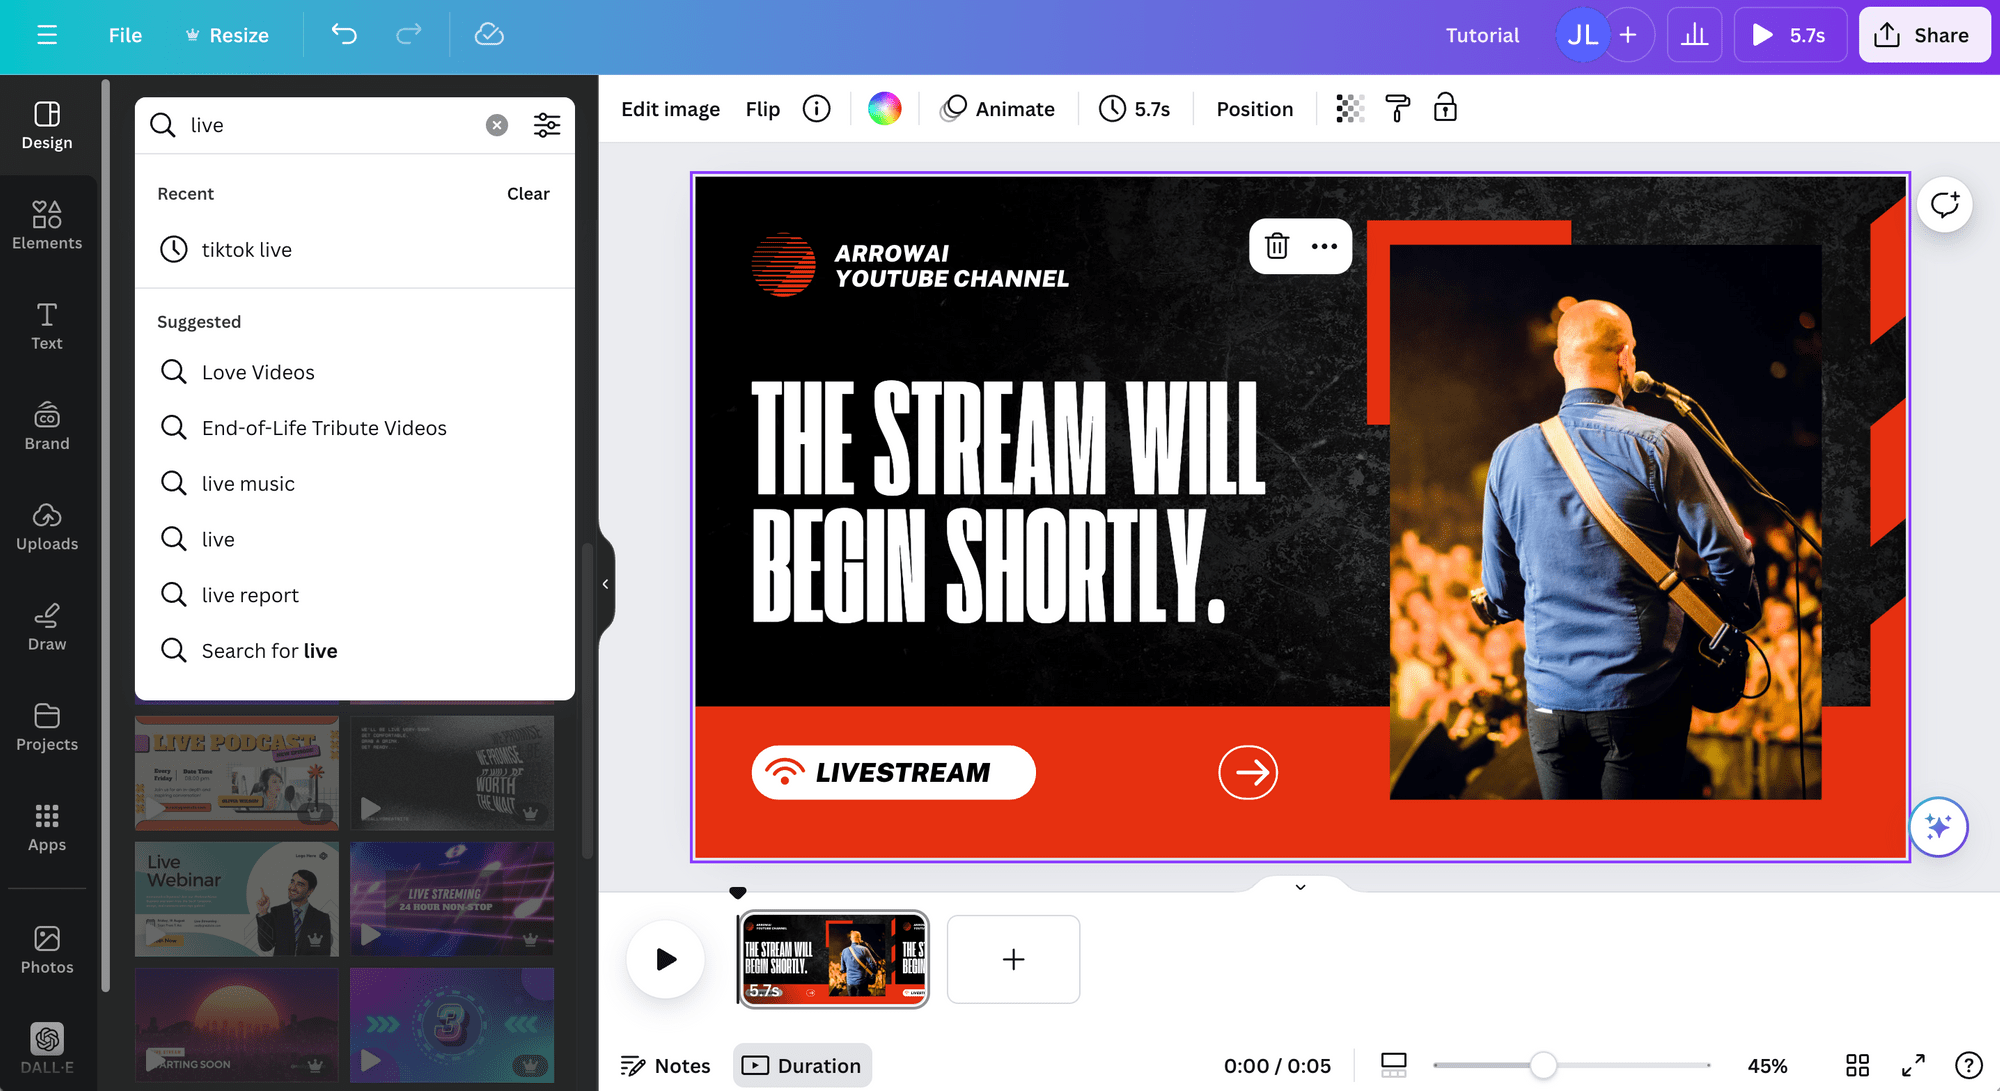
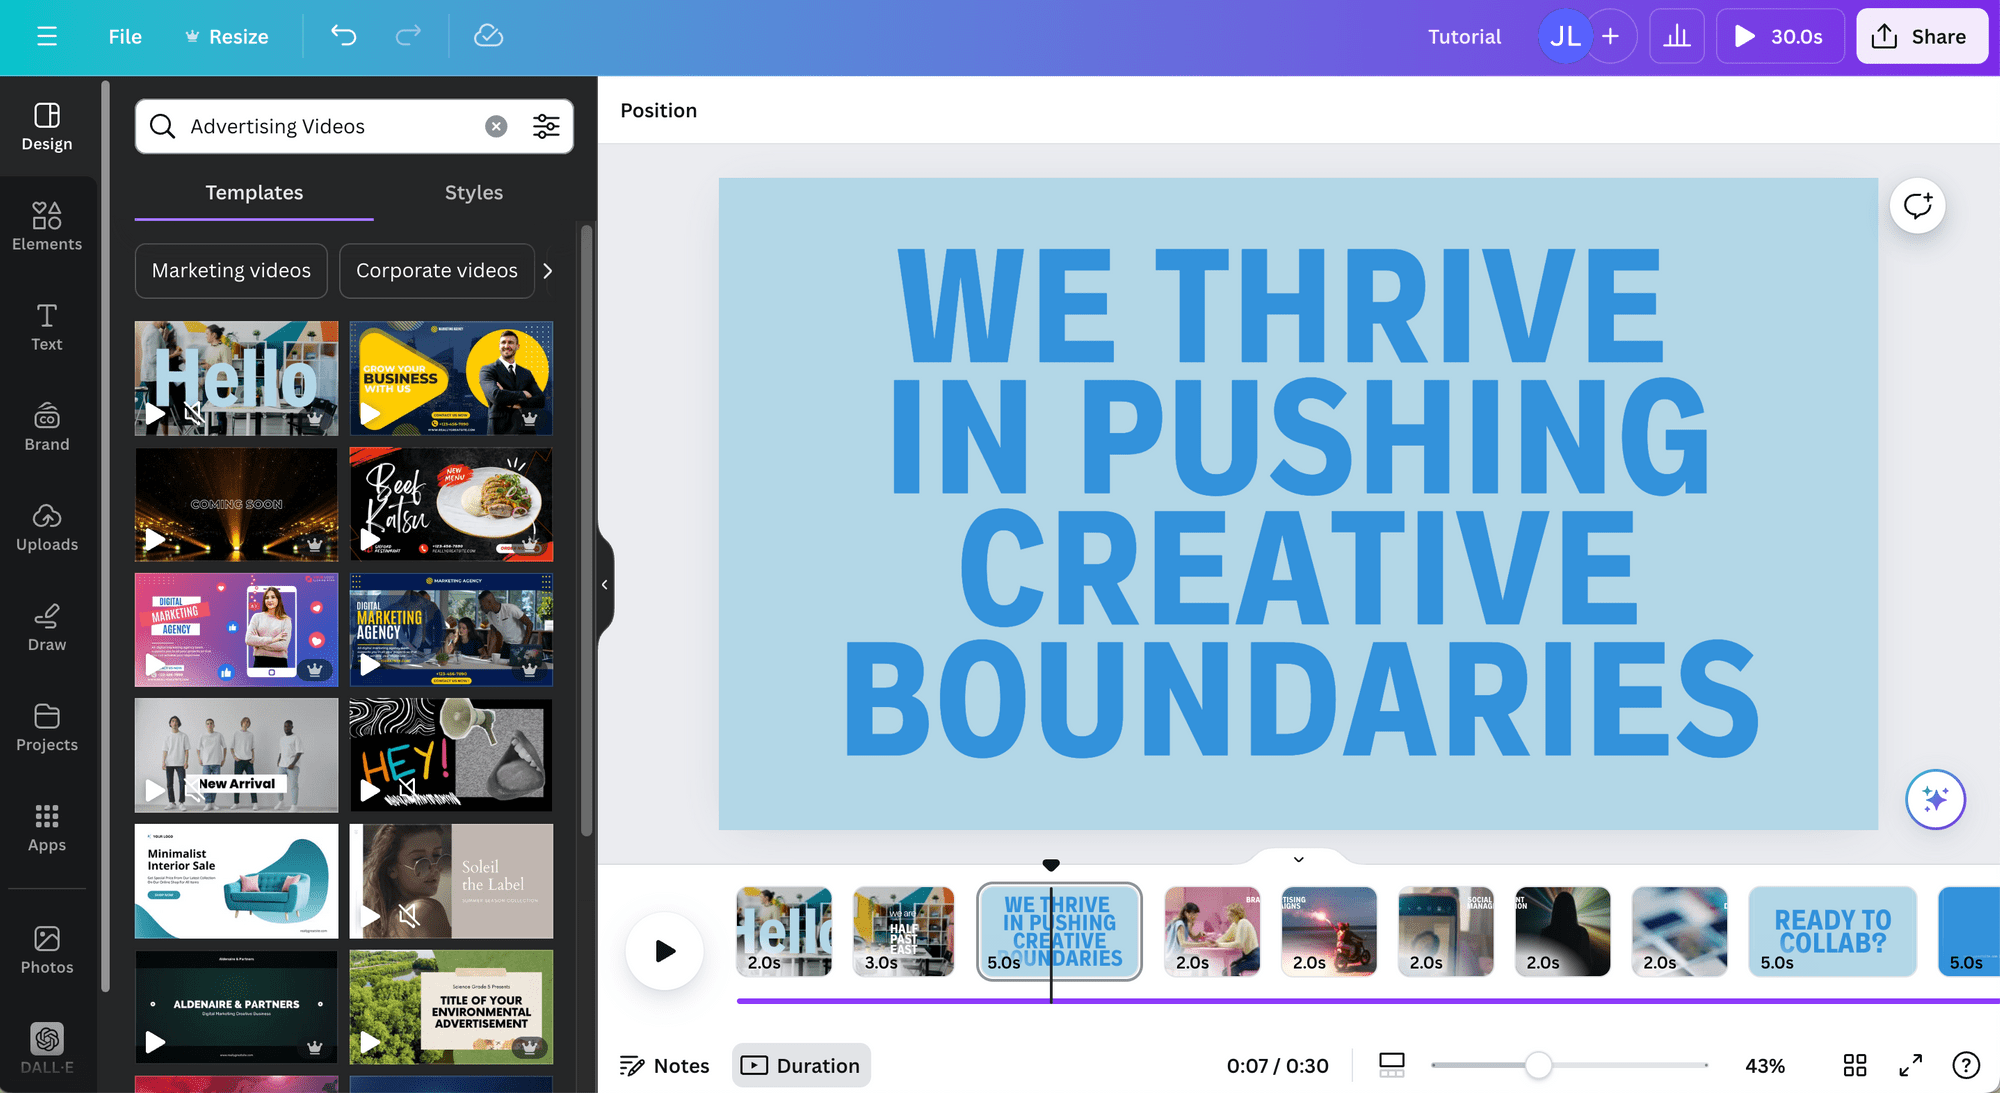
Canva offers a variety of templates for different types of videos, whether it’s for YouTube, live streaming, or advertisements. Choose a template, or start from scratch if you’re feeling creative—just choose what fits your project best:
YouTube Outro Template
Live Streaming Template
Advertising Template
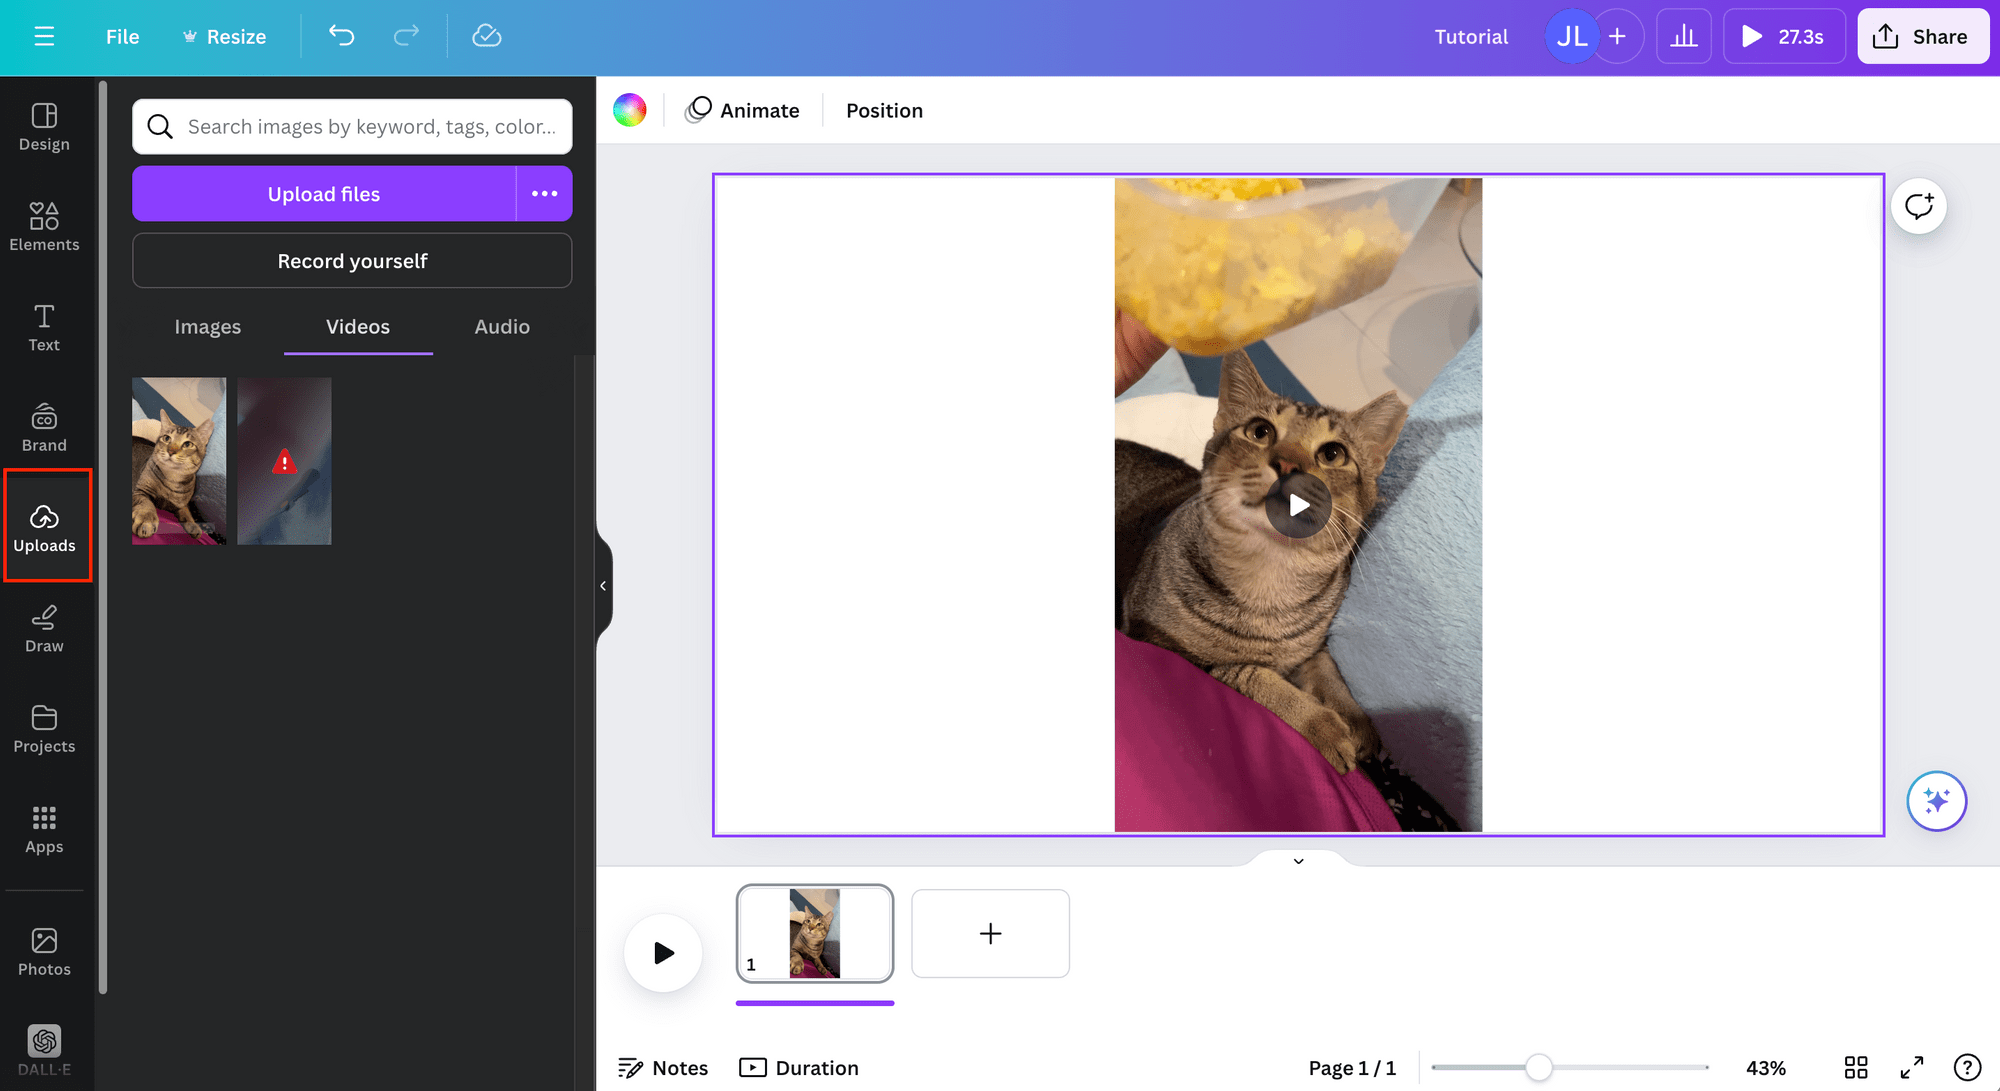
Step 4. Upload Your Media
To add your own videos, images, or audio, simply click on the “Uploads” tab on the left or drag and drop files directly into the editor:
Or, if you prefer, explore Canva’s library of stock footage for some inspiration:

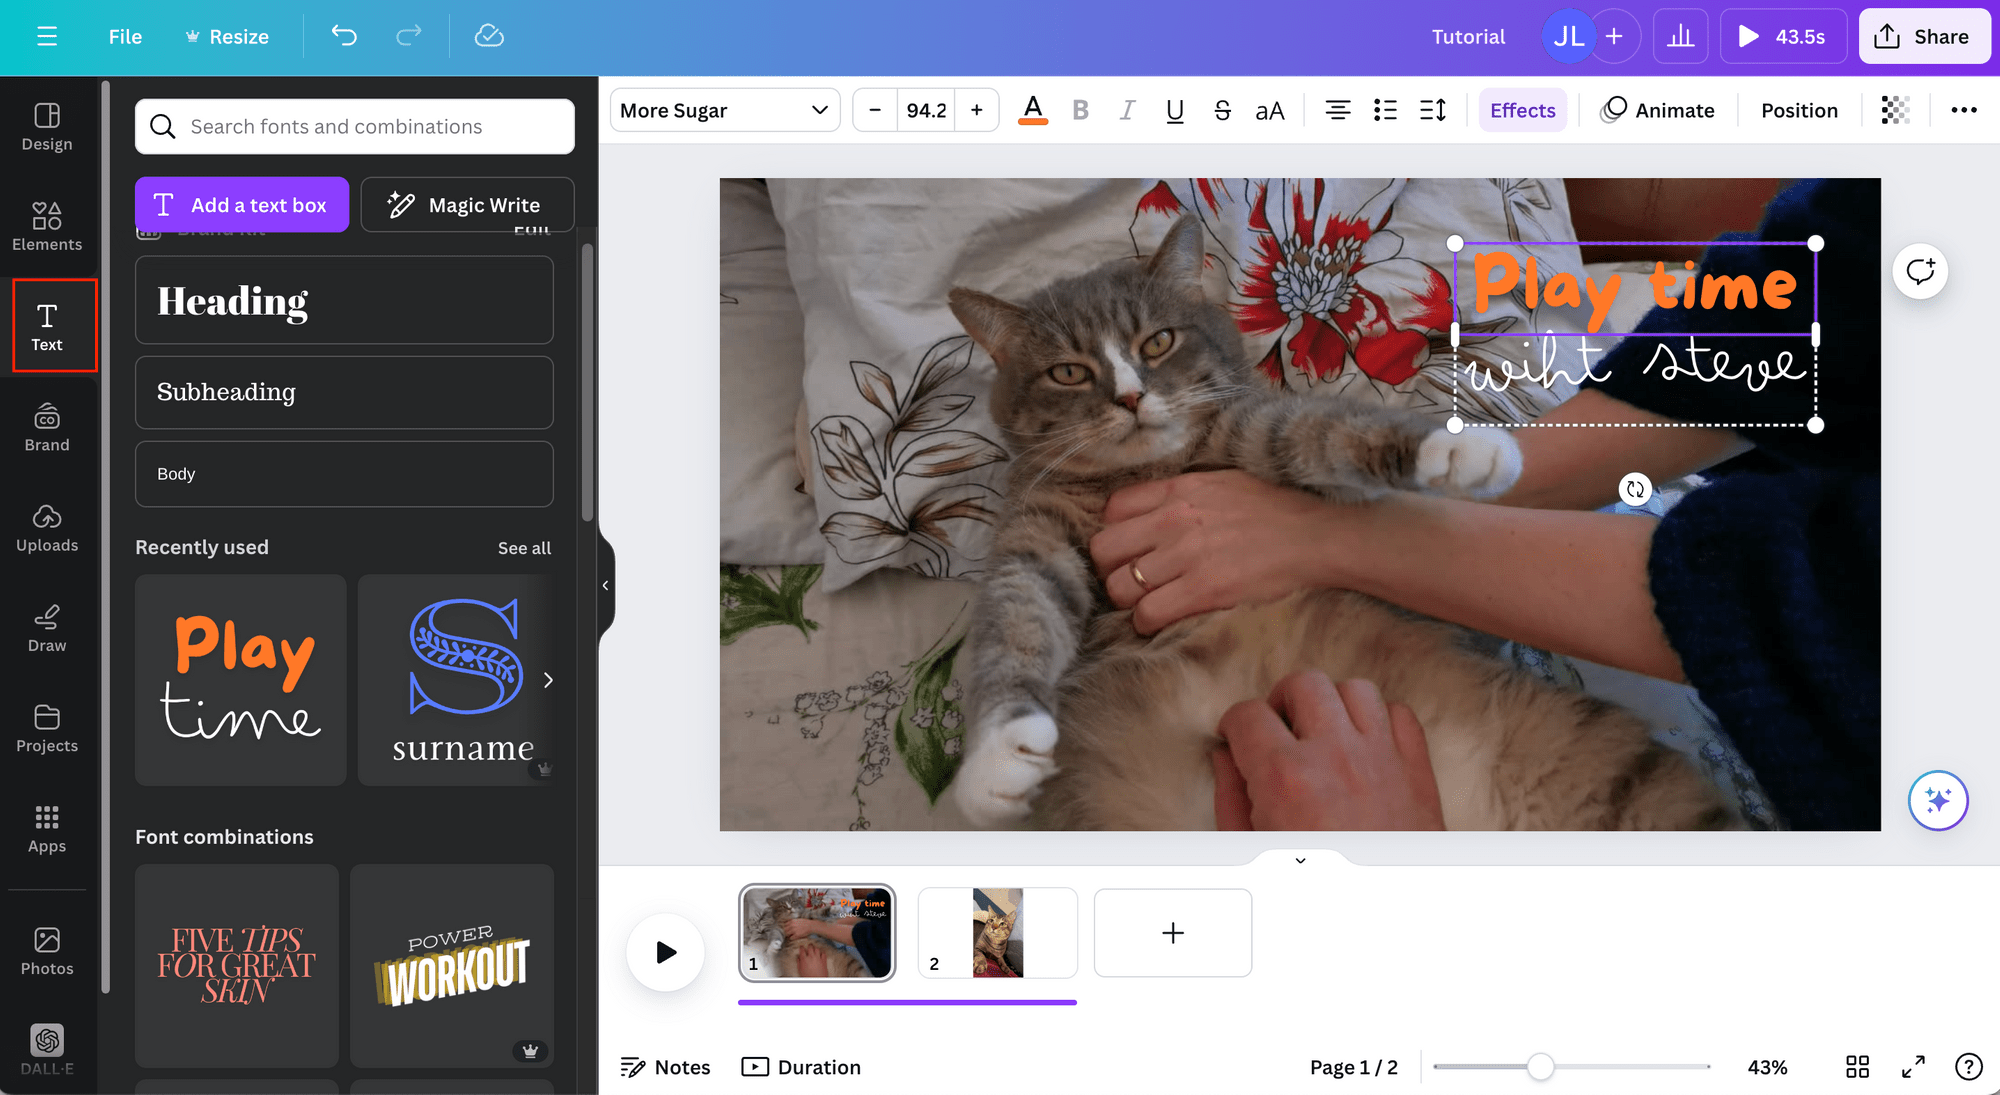
Step 5. Add Text and Elements
To personalize your video with text, select the “Text” tab and choose from a range of font styles. Customize the text size, color, and position to perfectly match your video’s theme:
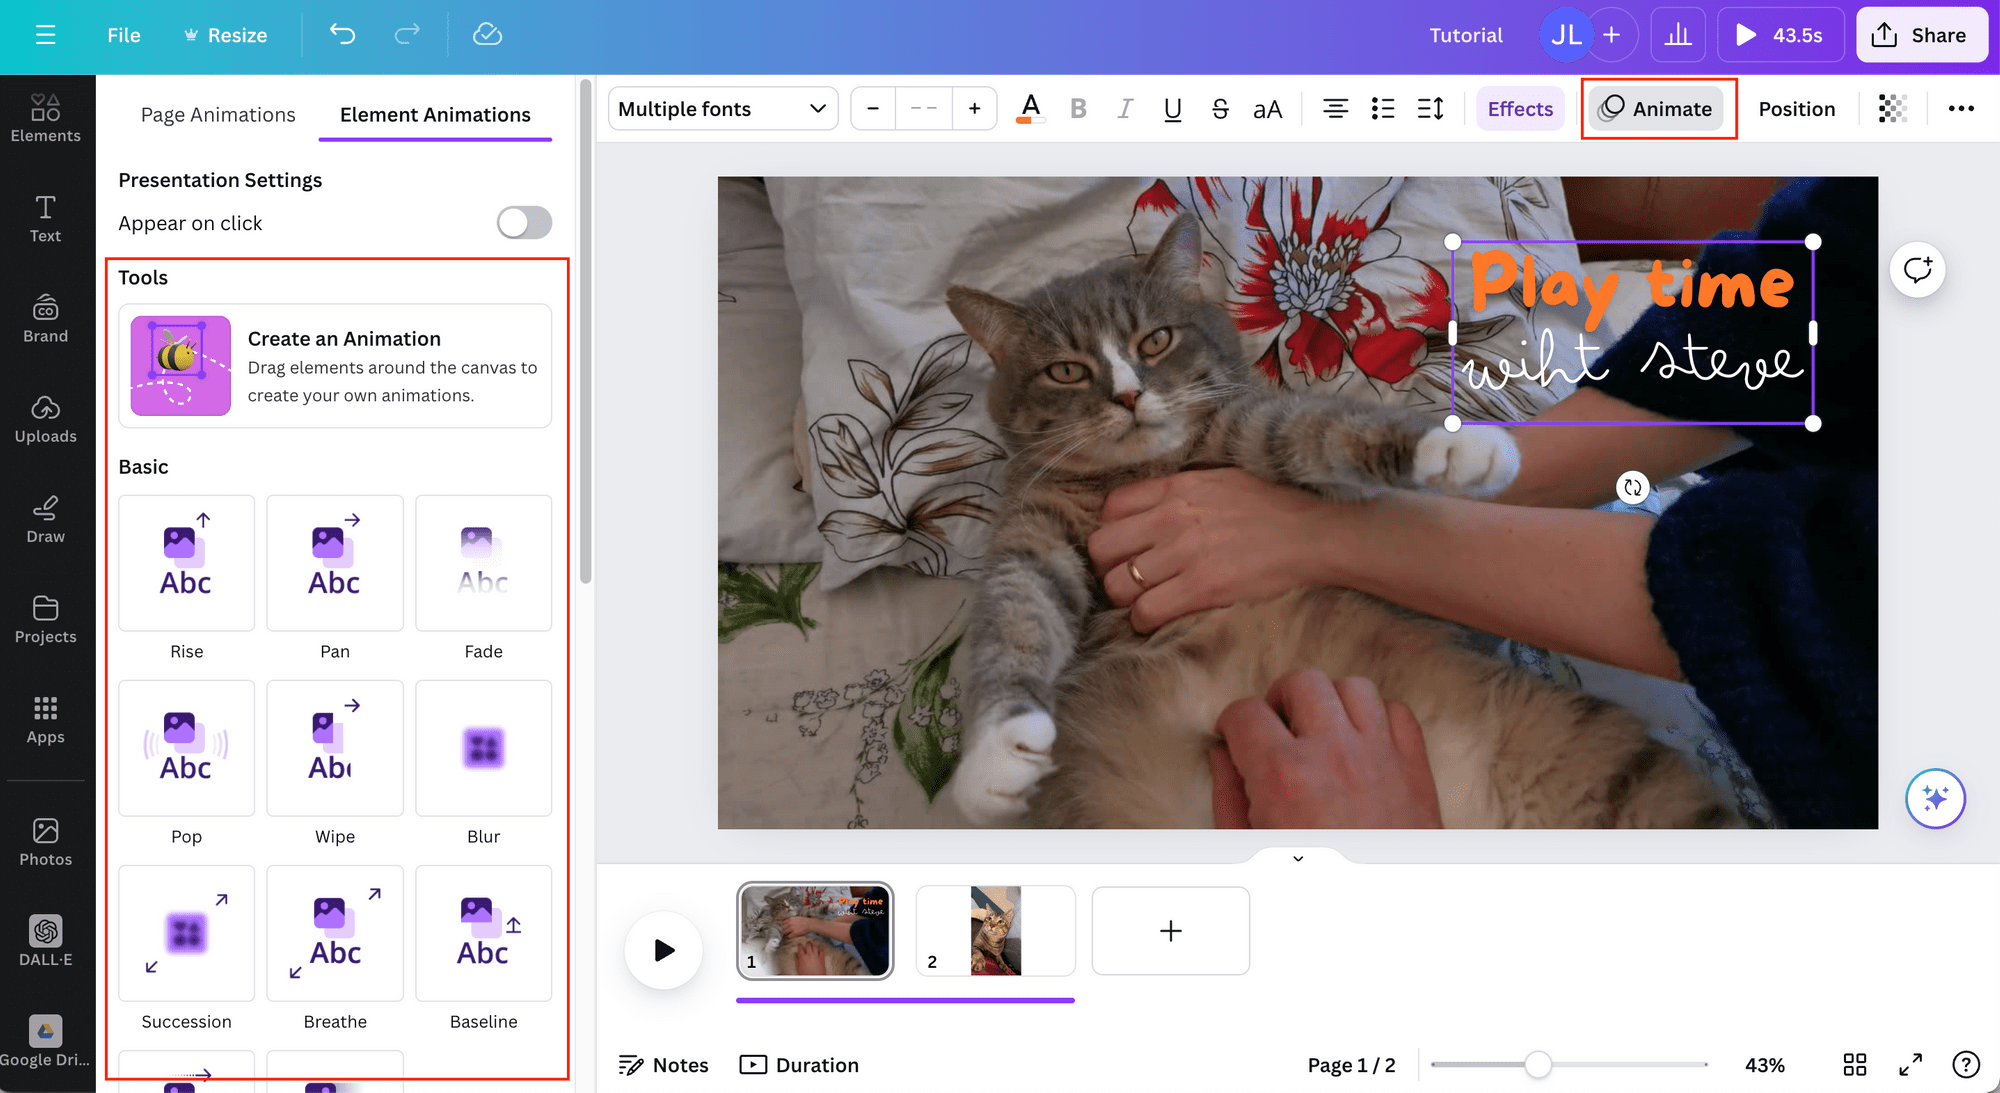
For a touch of flair, you can animate the text by selecting it and hitting the “Animate” button for a variety of motion effects:
You can also include graphics like icons or shapes by selecting items from the “Elements” tab. Just drag and drop the elements directly onto your canvas:
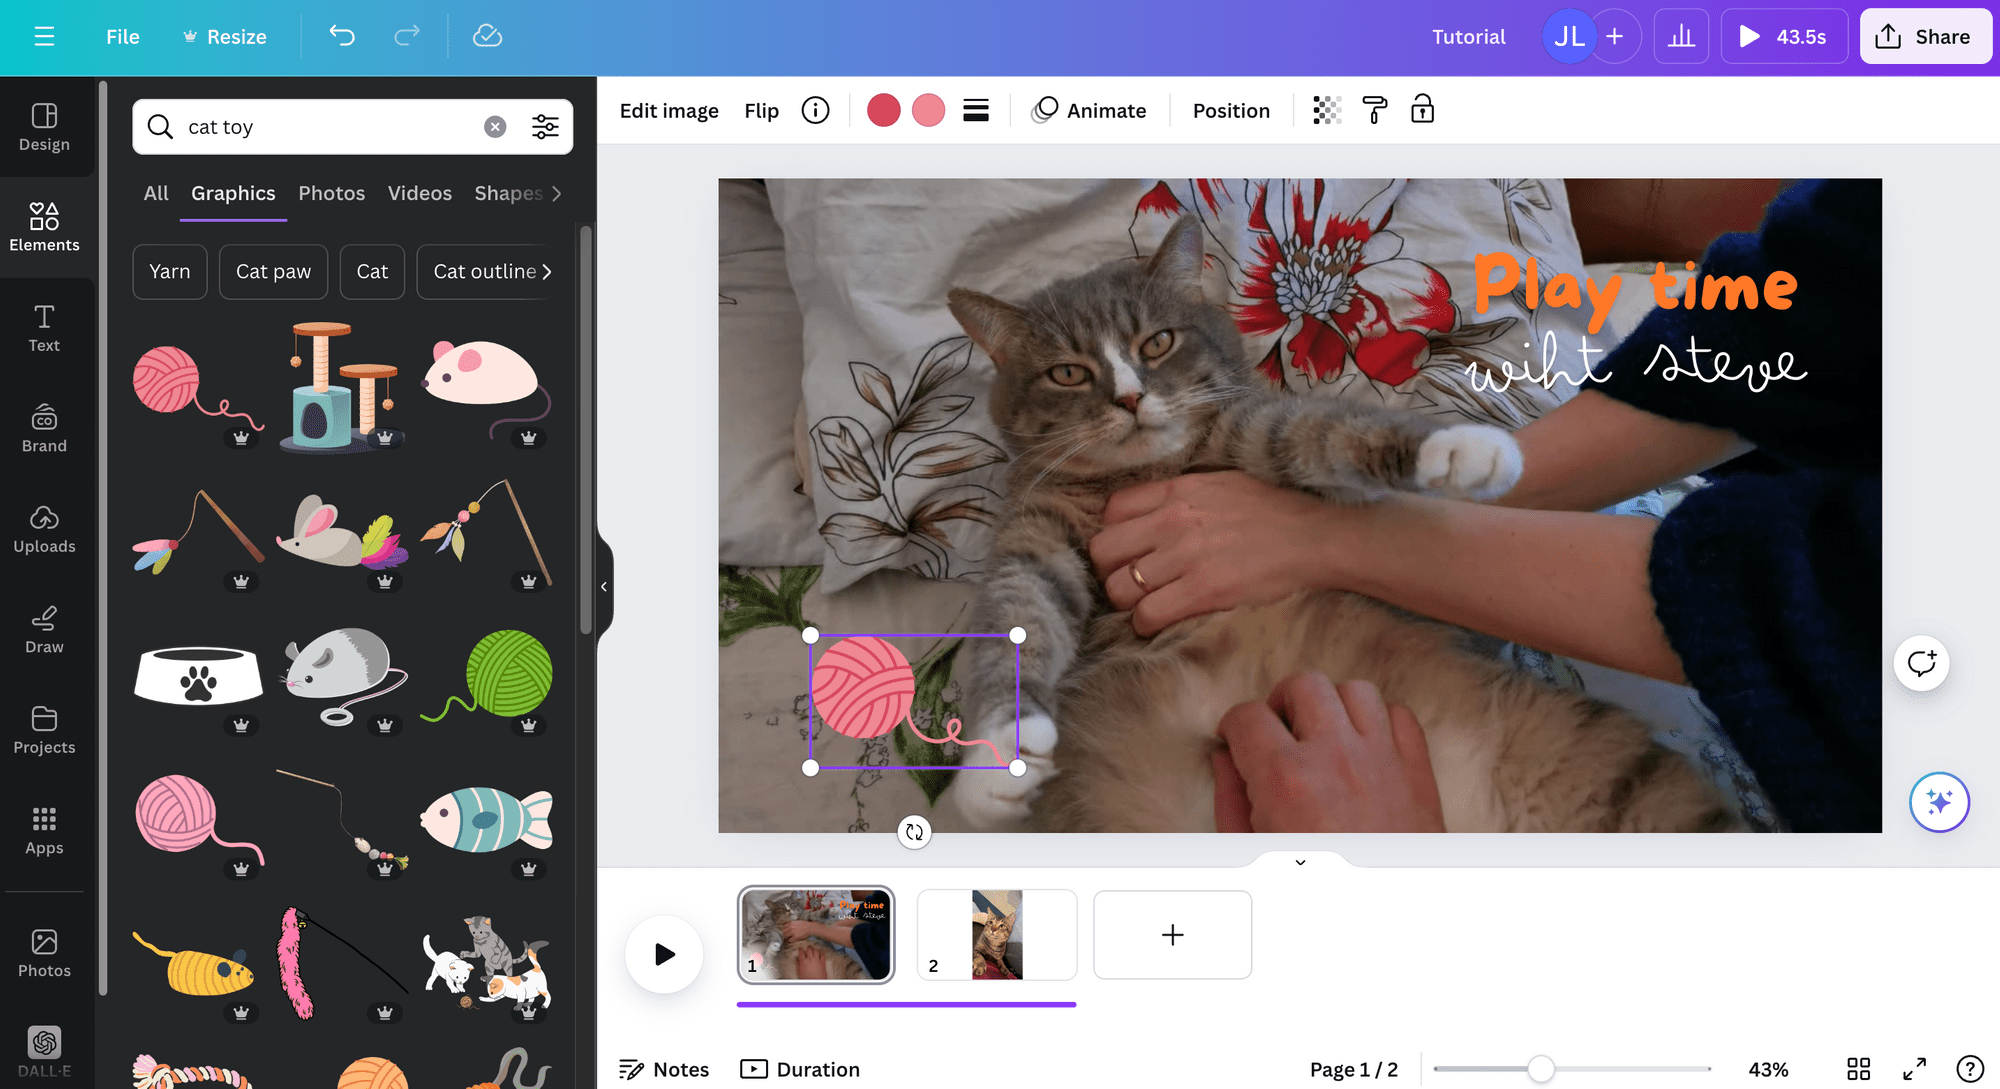
😺 Cat Tips: Just like with text, you can animate other elements as well!
Step 6. Add Audio
No video is complete without sound—head over to the “Audio” tab to add background music or sound effects. You can either upload your own audio files or choose from Canva’s royalty-free library:
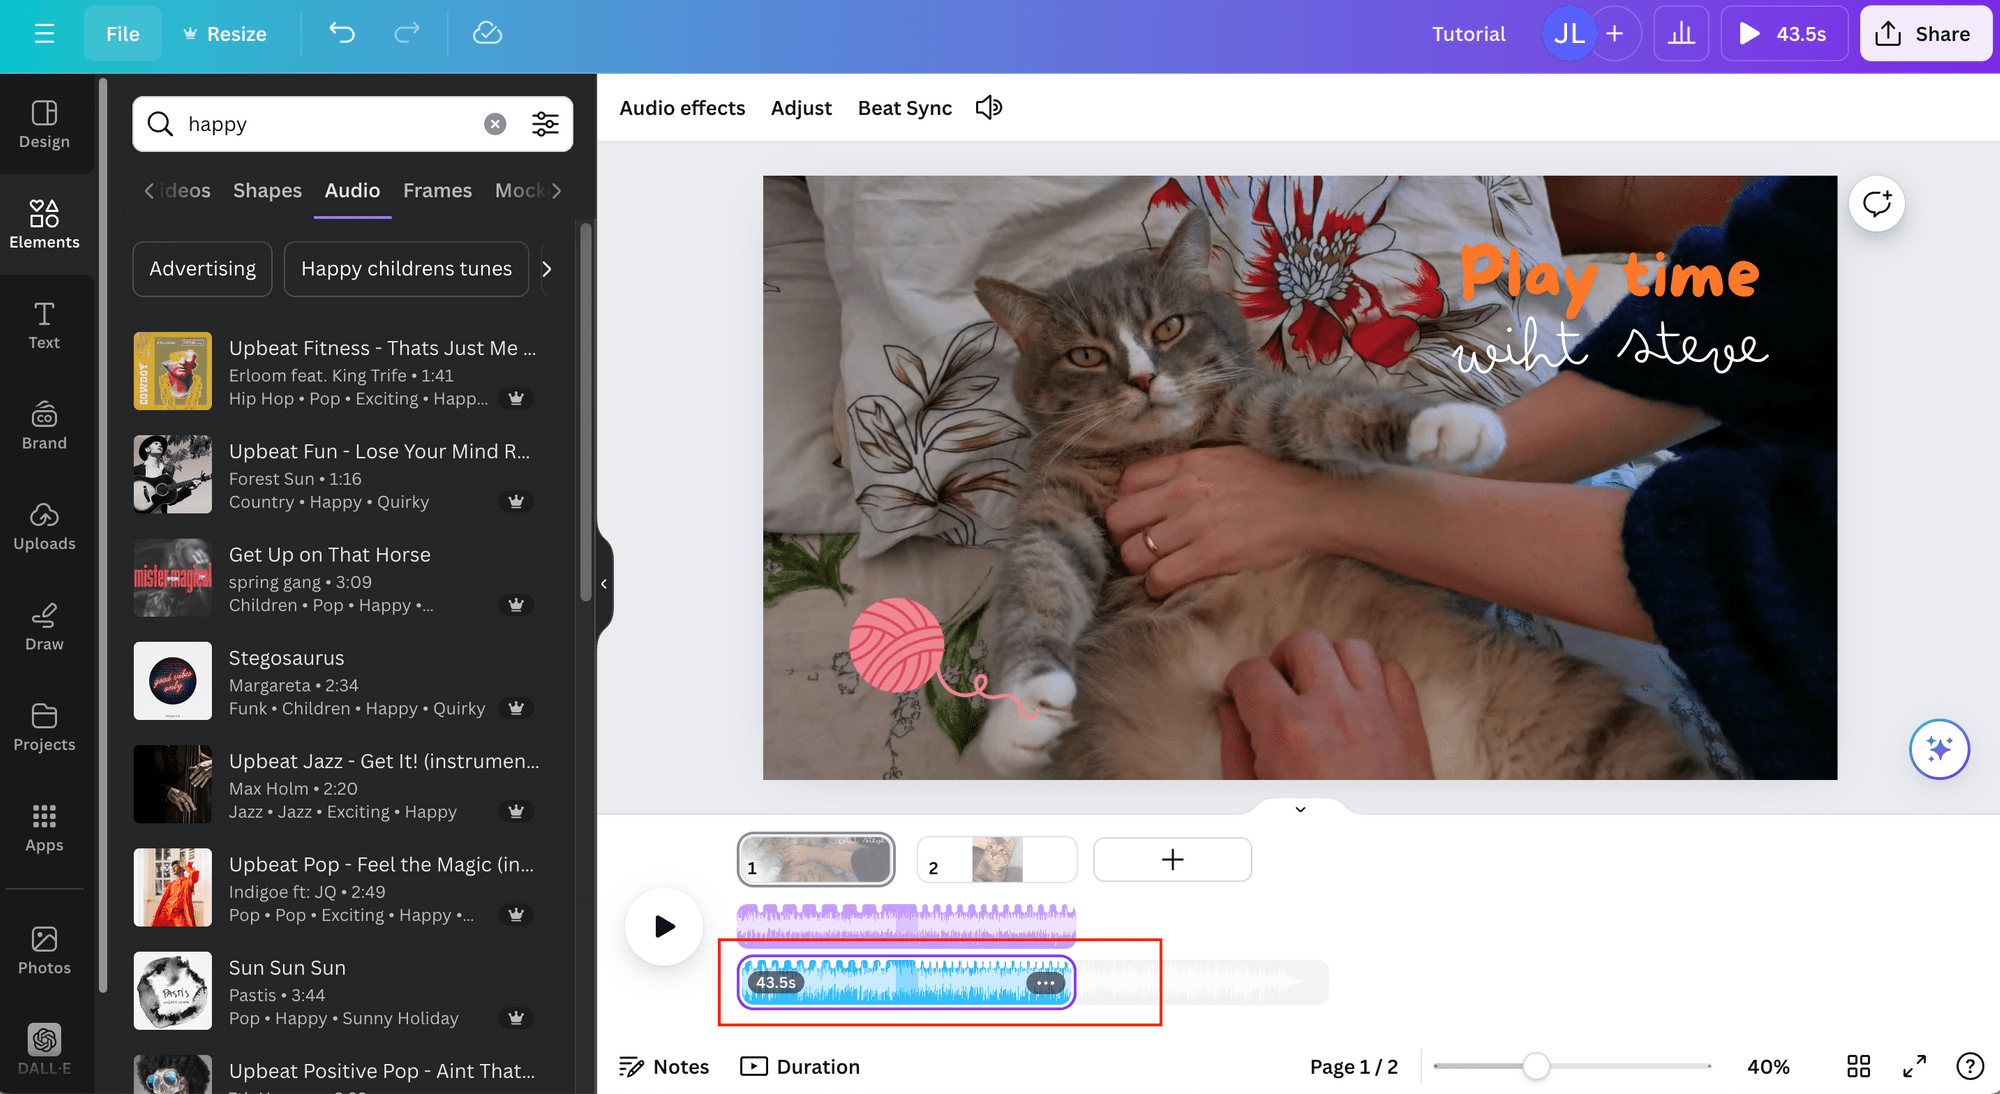
😺 Cat Tips: Use Canva’s “Beat Sync” feature to automatically match your video clips with the beat of the music.
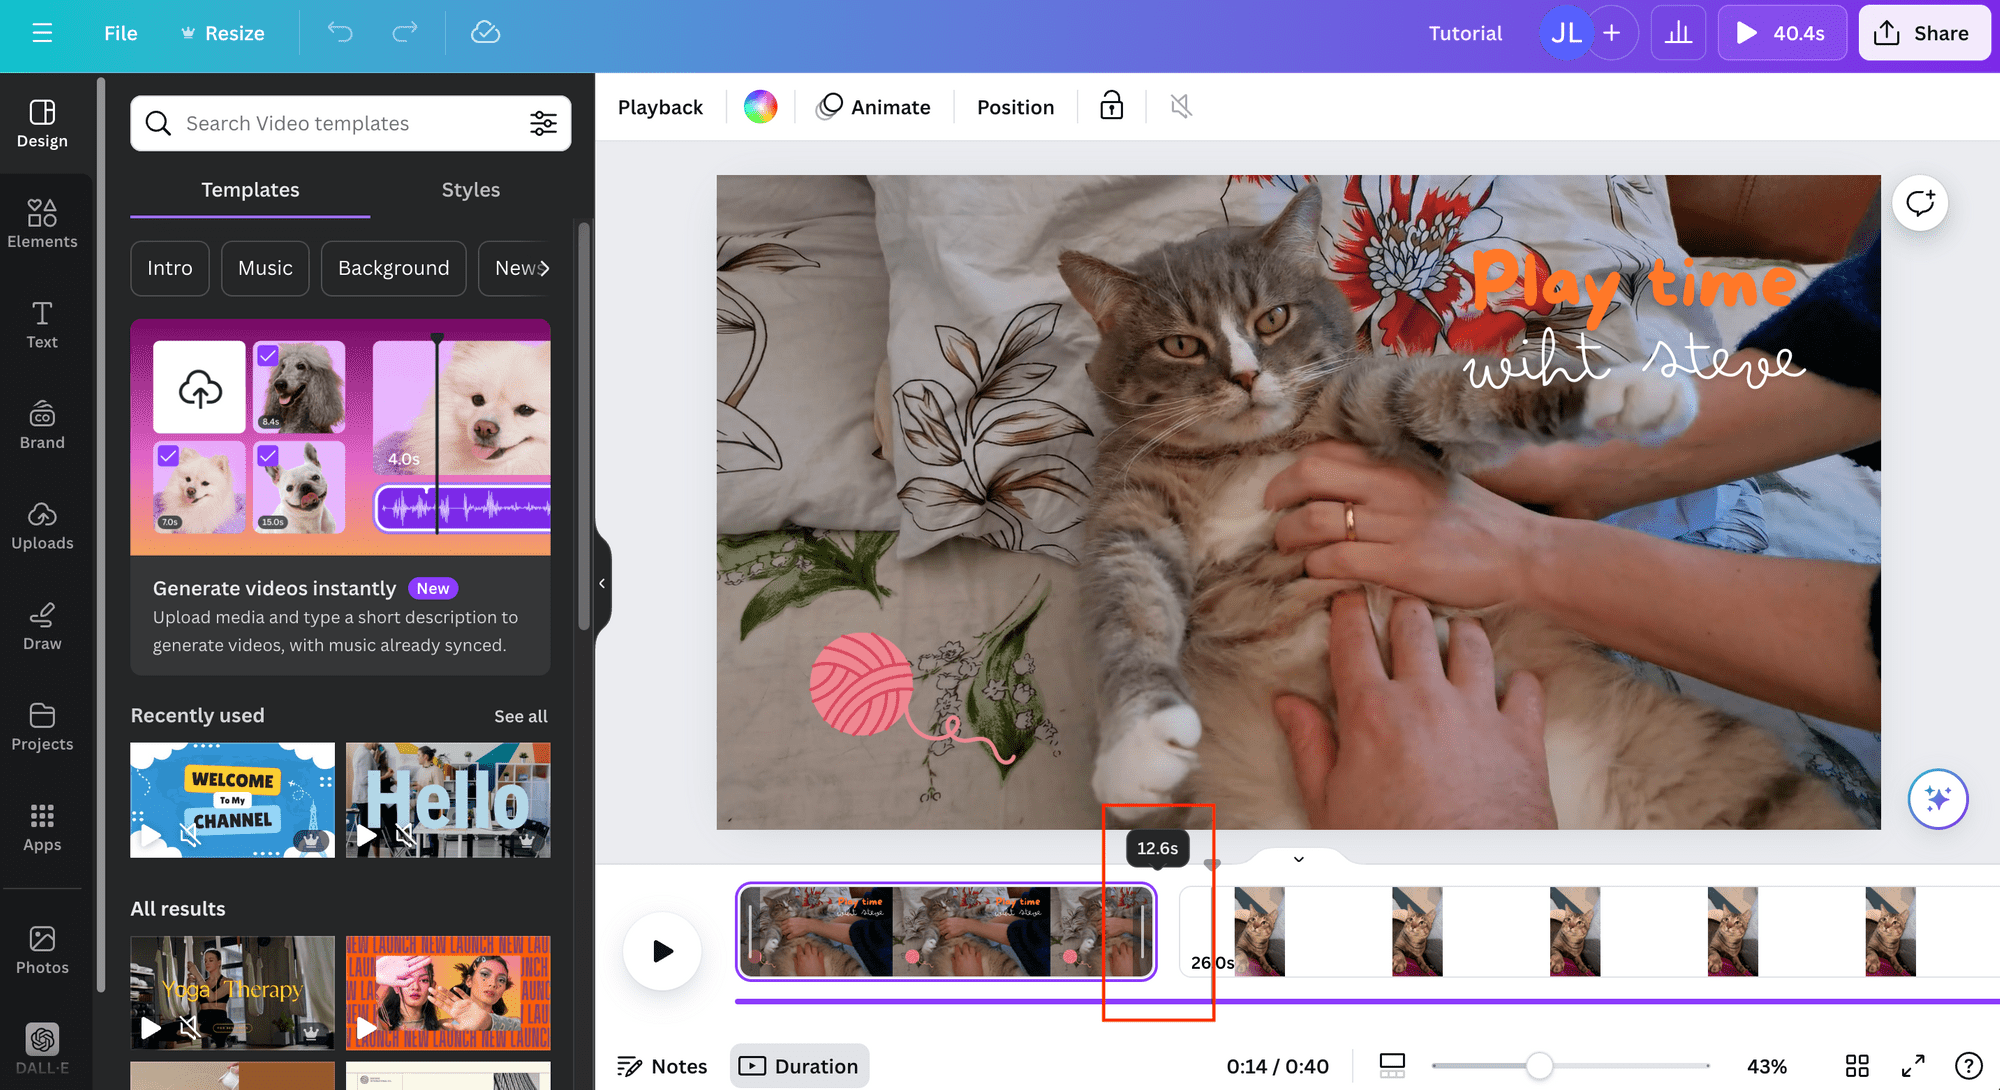
Step 7. Trim and Arrange Clips
The timeline at the bottom is where you trim and arrange your video clips. Simply drag the edges of each clip to trim unwanted sections:
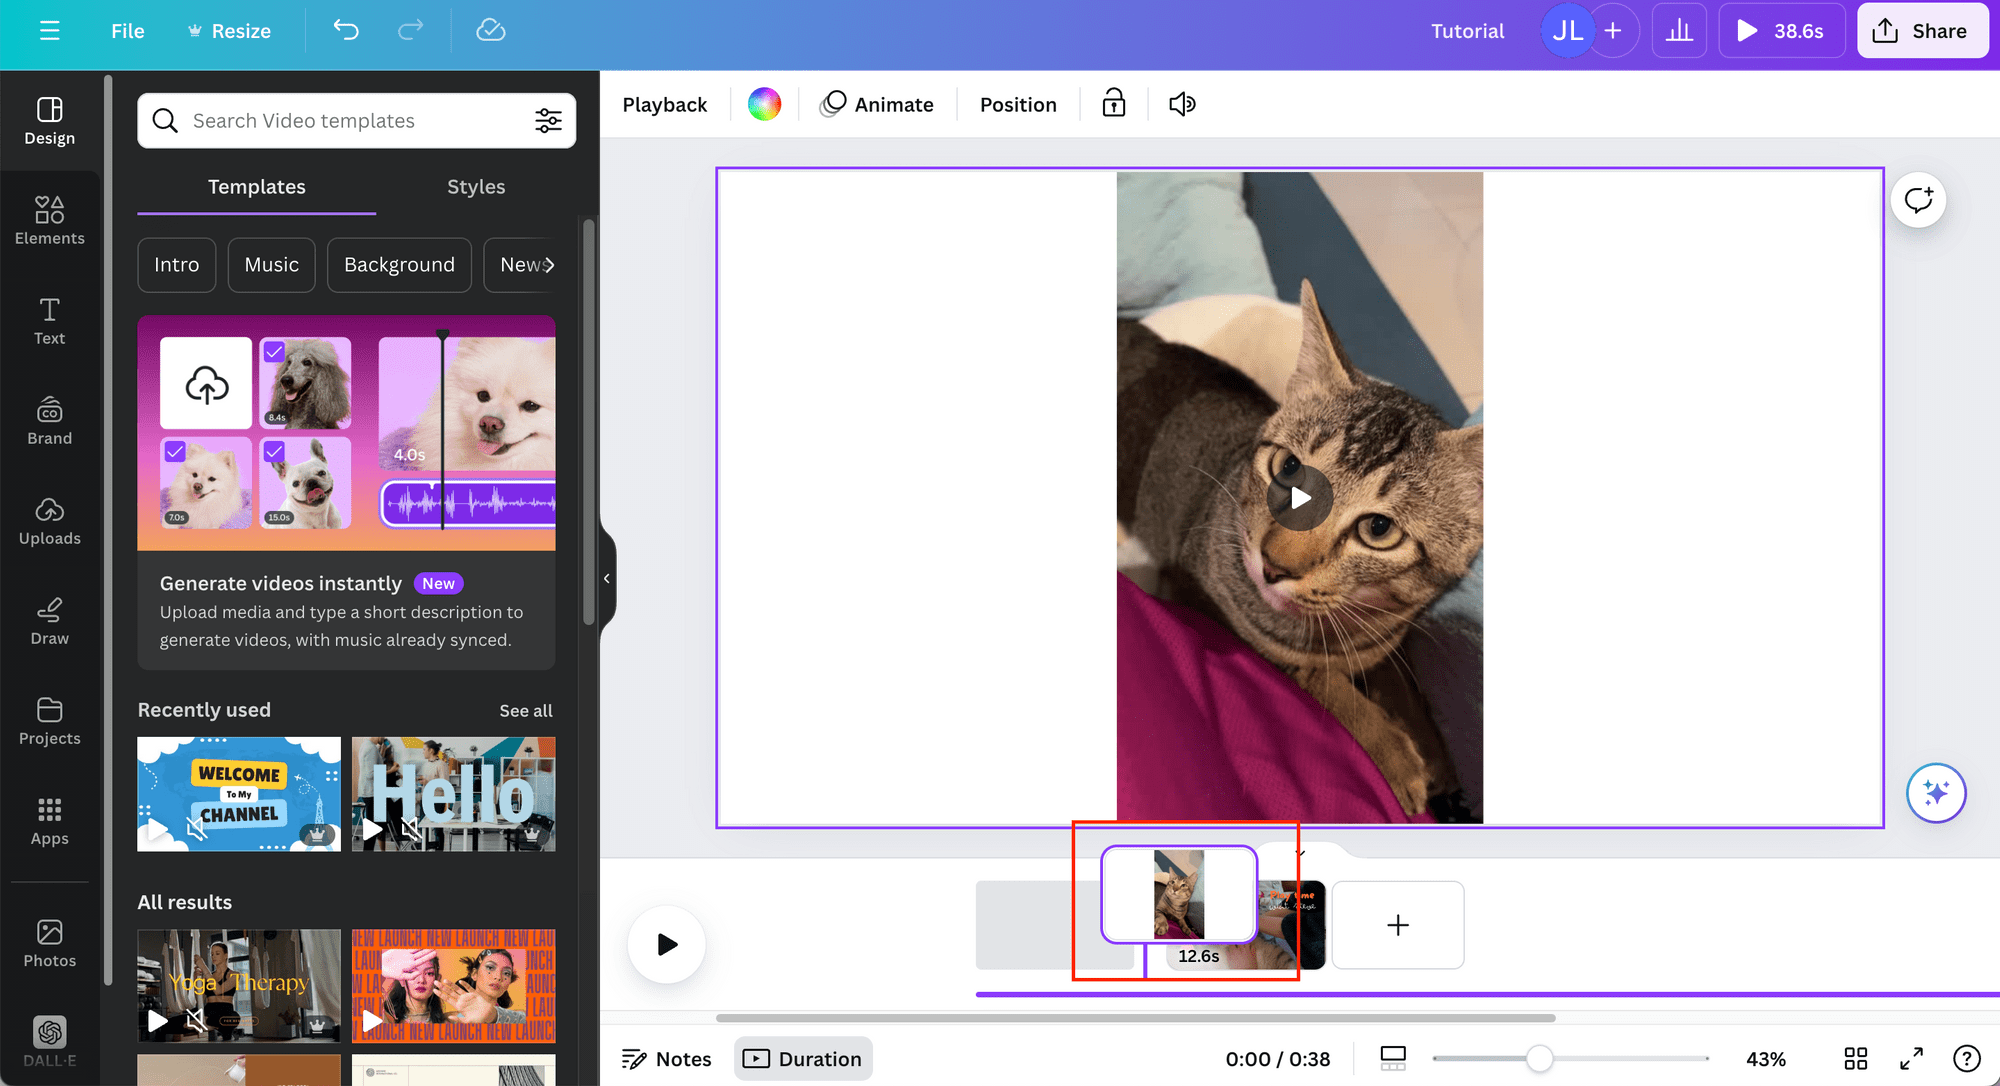
…and drag clips into the order you want:
When you're satisfied with your edits, click the “Play” button to preview your video. Make any final adjustments as needed.
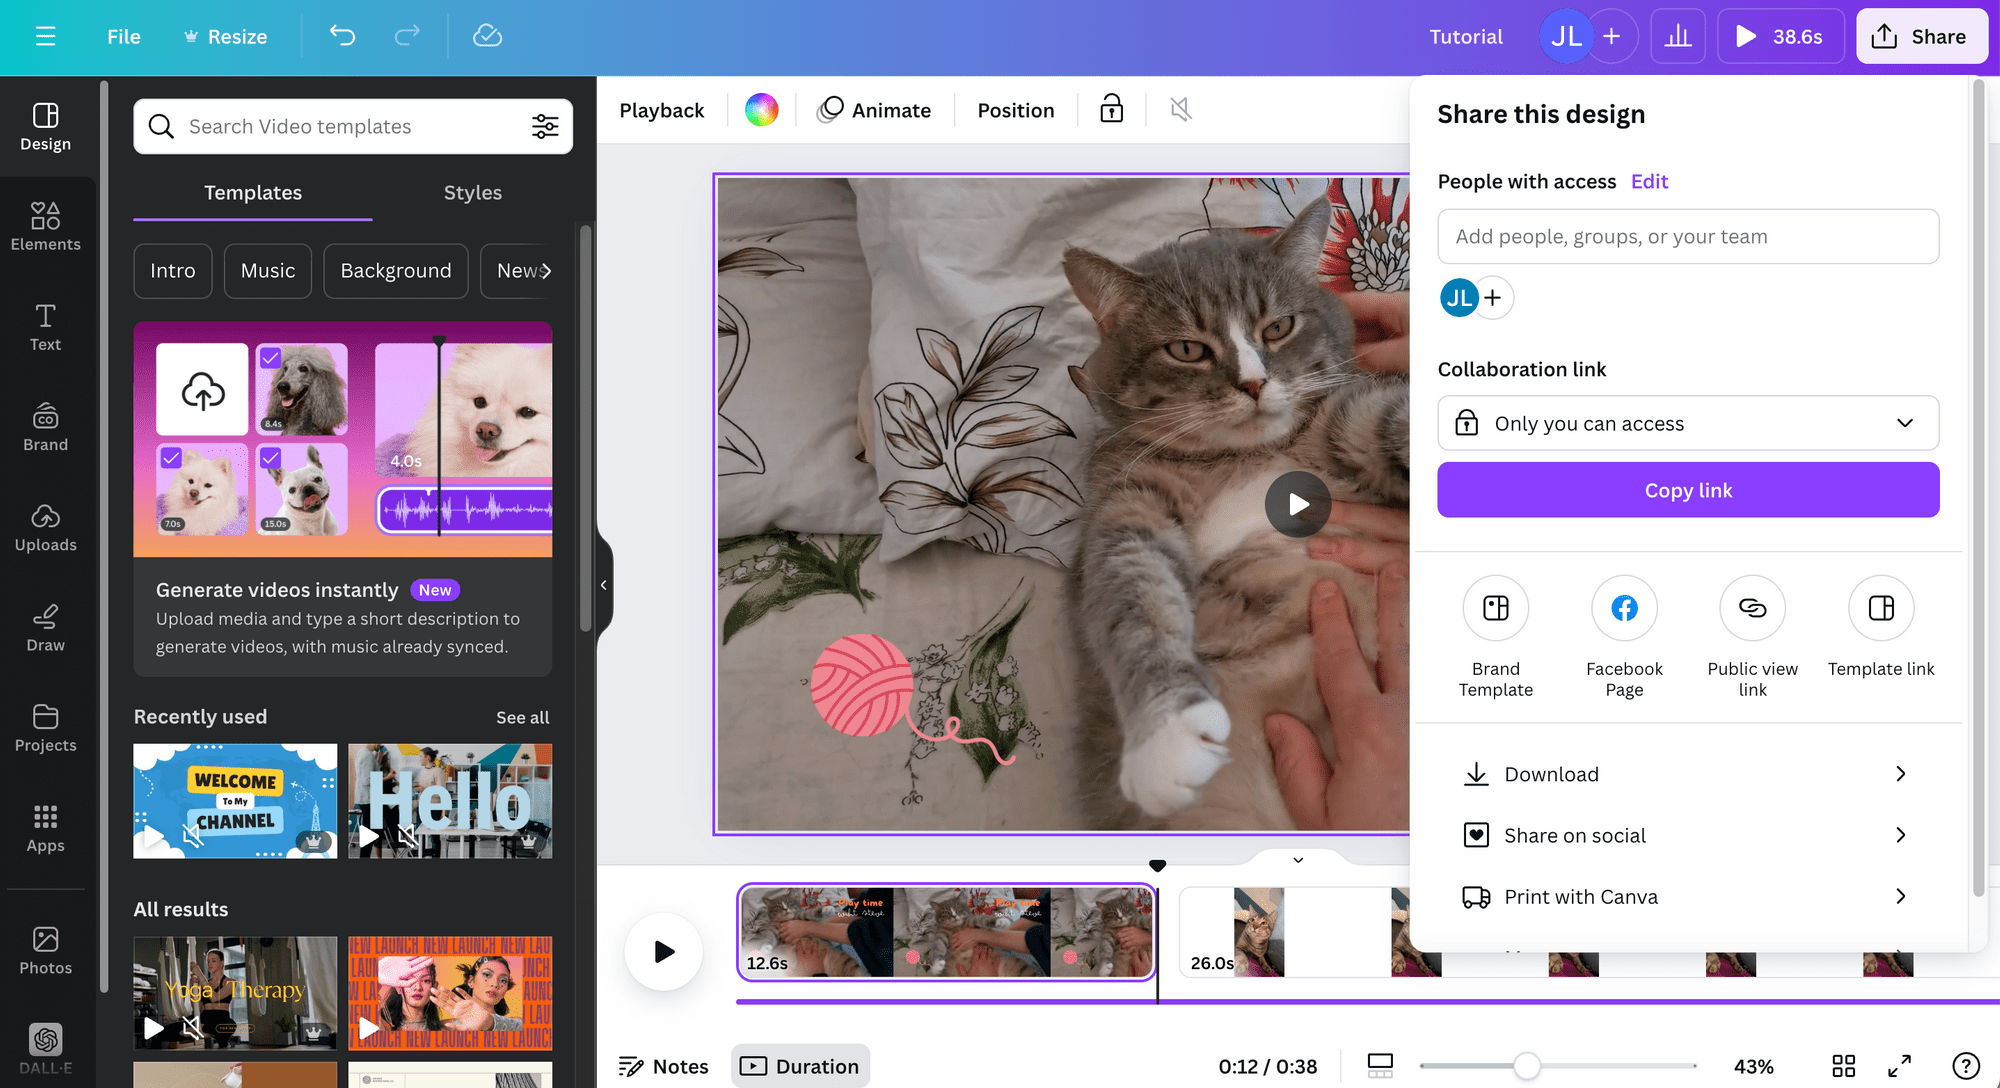
Step 8. Download and Share
Once your video is polished and ready, click the “Share” button at the top-right. You can either download it or post it directly to social platforms like YouTube, Instagram, or Facebook:
Use Cases for Canva Video Editor
Canva Video Editor is highly versatile, offering a variety of features to meet different creative needs:
- Social media marketing - Canva simplifies the process of creating dynamic, eye-catching content for platforms like Instagram, TikTok, and YouTube with its template library and editing features. Features like beat syncing, auto-captioning, and animations help capture viewers' attention and make your videos stand out on these competitive platforms.
- Presentations - Canva Video Editor is also perfect for creating polished intro videos, transitions, and outros for slideshows. You can even record voice-overs to accompany your videos, making it easier to communicate your message effectively.
- Marketing and advertising - Businesses can quickly create promotional videos or product demos using templates, built-in stock footage, and their brand kit, aligning the content with their brand identity.
- YouTube and vlogging - Canva Video Editor is great for aspiring YouTubers, offering everything from YouTube intros and outros to full-length video content. Its user-friendly editor helps to create professional-looking videos without the need for advanced editing skills.
Does Canva Have an API
Yes, Canva does have an API! The Canva Connect API allows you to integrate Canva's capabilities into your apps, websites, or products. However, it mainly focuses on image generation and offers limited video functionality. With the API, you can upload videos and add them to your design templates, but it doesn't support other video editing features like cropping, trimming, or adding text and elements.
🐱 Meow Memo: Clipcat offers an API for advanced automated video generation. Join the waiting list to be the first to know when it is released!
Final Thoughts: A Quick Review of Canva Video Editor
Canva Video Editor is ideal for beginners, small businesses, social media managers, content creators, and anyone already familiar with Canva’s interface who wants to create professional-quality videos quickly and easily without dealing with complicated software. Here’s why:
- User friendly interface - The intuitive drag-and-drop interface makes it easy for anyone, even without prior video editing experience, to start editing right away without facing a steep learning curve.
- Extensive customizable templates and media - The vast library of templates and stock content including images, videos, and music saves time and effort, especially for those with limited resources.
- Customizable brand kit feature - Canva's Brand Kit makes it easy to apply the same color scheme to different photos and videos, ensuring consistent branding across your visual content.
- Cloud-based platform - Work on projects from any device, anytime, anywhere, with an internet connection.
However, for more advanced video production needs—such as keyframe animations, complex visual effects, or custom transitions—professional-grade tools like Adobe Premiere Pro, Adobe AfterEffects, or Final Cut Pro may still be necessary.
Canva focuses on simplicity and lacks the advanced tools required for high-end productions, which may feel limiting for users looking to create more cinematic or complex projects. Nonetheless, it’s an excellent choice for those who prioritize speed, ease of use, and accessibility over technical complexity—making it ideal for most content creators, social media managers, and small businesses. If you're already comfortable with Canva's photo editor, using the video editor is an easy way to enhance your content without any added hassle!